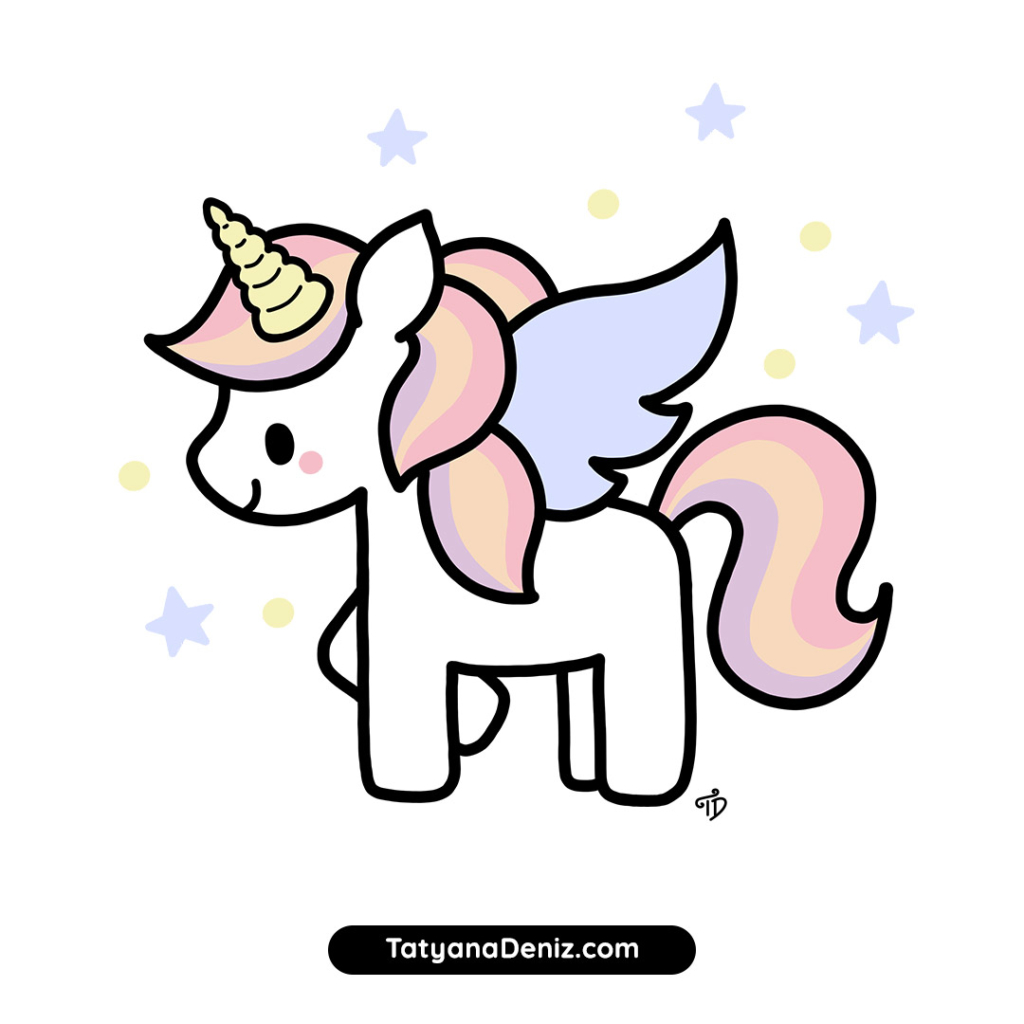
You can draw this kawaii unicorn even if you’ve never drawn one before. The whole drawing starts with two simple egg shapes — head and body — then builds up one element at a time.
Follow the steps below and you’ll finish with a cute, polished unicorn you’ll actually be proud of.
Kawaii Unicorn Step-by-step Drawing Tutorial
👉 CLICK HERE to Pin This Tutorial 👈

👉 CLICK HERE to Pin This Tutorial 👈
You are free to use this image for personal use, to add to your craft projects, and to enjoy with your kids. But if you share any of my drawings, designs or tutorials, please remember to give me credit (art by Tatyana Deniz) and link back to this page: https://tatyanadeniz.com/kawaii-unicorn
Please enjoy it for personal use, and please give me credit and link back to this post if you share it with others.
Drawing Tips for This Easy Kawaii Unicorn
- Focus on the big shapes first. For example, in step 1 all we are doing is drawing 2 egg-shaped objects. Don’t think of them as “head” or “body”. Just focus on drawing 2 eggs. Trust me, it will work!
- Use the guidelines from the tutorial to help you create correct angles in your drawing. For example, the egg shape for the head is tilted at about 45 degrees. You can also imagine a clock in your mind, and note what time the clock handle is showing. So for this example (45 degrees) the clock is showing roughly 1:30 o’clock. Then you can easily remember how to transfer this angle to your drawing.
- The drawing might look complicated… but if you take it 1 element at a time, it will come out great!
- Don’t be afraid to use the eraser. It’s totally ok to erase and re-do. Get each element you add to look almost-perfect before moving on to the next one. Don’t try to get it perfect, because then you will get stuck. But get it almost perfect, meaning it’s not too big or too small, it’s pointing the right way, and it has the right shape.
FAQ
Yes — this is one of the most beginner-friendly tutorials on the site, and it works great for kids. The shapes are simple, each step adds just one element, and there’s no complicated shading required. It’s a great activity to do together.
All you need to get started is a pencil, a black liner pen, and something to colour with — markers, coloured pencils, or even crayons all work. Tatyana uses Copic markers in her tutorials, but the result looks just as cute with whatever you have at home.
Most people finish the line art in about 15–20 minutes. Add extra time if you’re colouring and taking it slowly — that’s part of the fun.
Absolutely. The step-by-step structure translates directly to Procreate — just draw each step on a new layer so you can adjust without starting over. The basic shapes and proportions are the same whether you’re working on paper or a screen.
Student Gallery
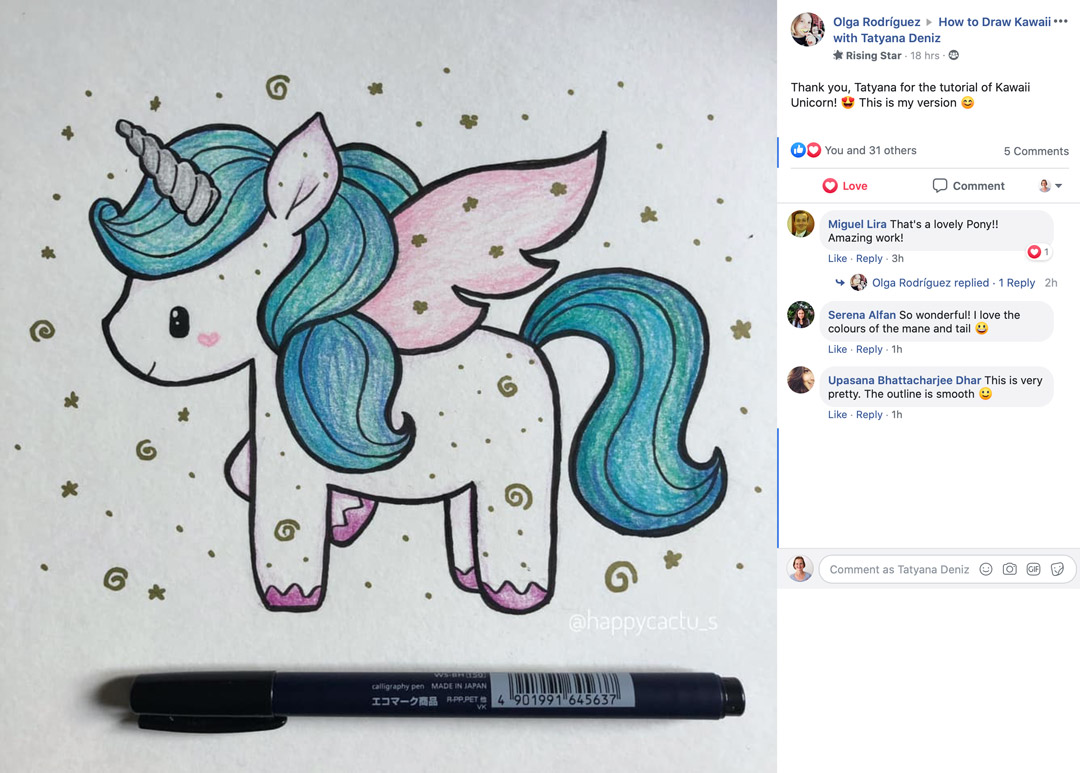
Check out a few gorgeous kawaii unicorns from our community.



Share the Love
Share your drawing on Instagram and tag @tatyanadeniz or #tatyanadeniz — we would love to see it!
If you enjoyed this kawaii unicorn tutorial, please share it with your friends using the buttons below, so they can join the fun! You will make my day. Plus, sharing good stuff online gives you positive vibes (and good karma points, hehe).