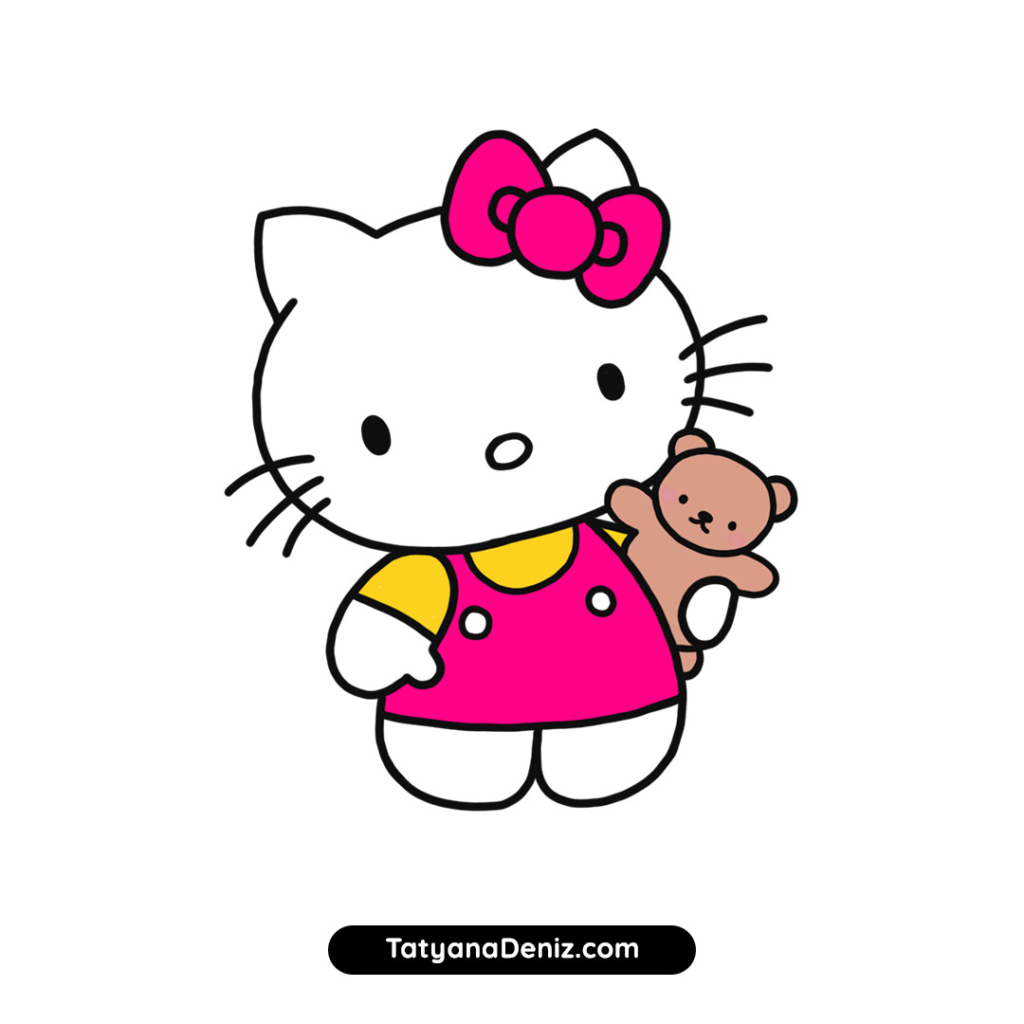
Hello Kitty is a childhood favorite for many of us. From notebooks to t-shirts, Hello Kitty instantly transforms any product into a “must have” item. 🙂
Today I will show you how to draw this adorable kitty in an easy and simple way, so even a complete beginner can follow the steps.
When you finish the drawing, please share it in our private Facebook group, so I can see it!
Step-by-Step Hello Kitty Drawing Tutorial
Follow these simple steps – one at a time. And don’t be afraid to erase and redraw, if something doesn’t look right. 😉 That’s how we learn. It’s not a mistake – it’s practice.
👉 CLICK HERE to Pin This Tutorial 👈

👉 CLICK HERE to Pin This Tutorial 👈
Drawing Tips for Drawing Hello Kitty
- Think of the kitty’s head as an oval, and her body is a gumdrop shape (squished on the bottom). The ears are just 2 triangles.
- The head of our Hello Kitty is slightly tilted to the left. That’s why I included a horizontal guide line that goes across the kitty’s head to show the angle. Keep everything on that line (the eyes, nose, whiskers) so it looks consistent and natural.
- Experiment with different colors. Hello Kitty is perfect for coloring! You can change her outfit and bow color, and you can even add patterns to her costume. Have fun!
Join Our Facebook Group
When you finish your drawing, please share it in our private Facebook group so we can all see it. We are your biggest fans!
Sharing your work will motivate you to draw more.
I also visit the group often to provide feedback and to comment on your drawings.
See you inside!
If you prefer to share on Instagram, please use the hashtag #tatyanadeniz so I can check out your work.
Spread the Good Vibes
If you enjoyed this tutorial, please consider sharing it with your friends using the buttons below. You might make someone’s day!
