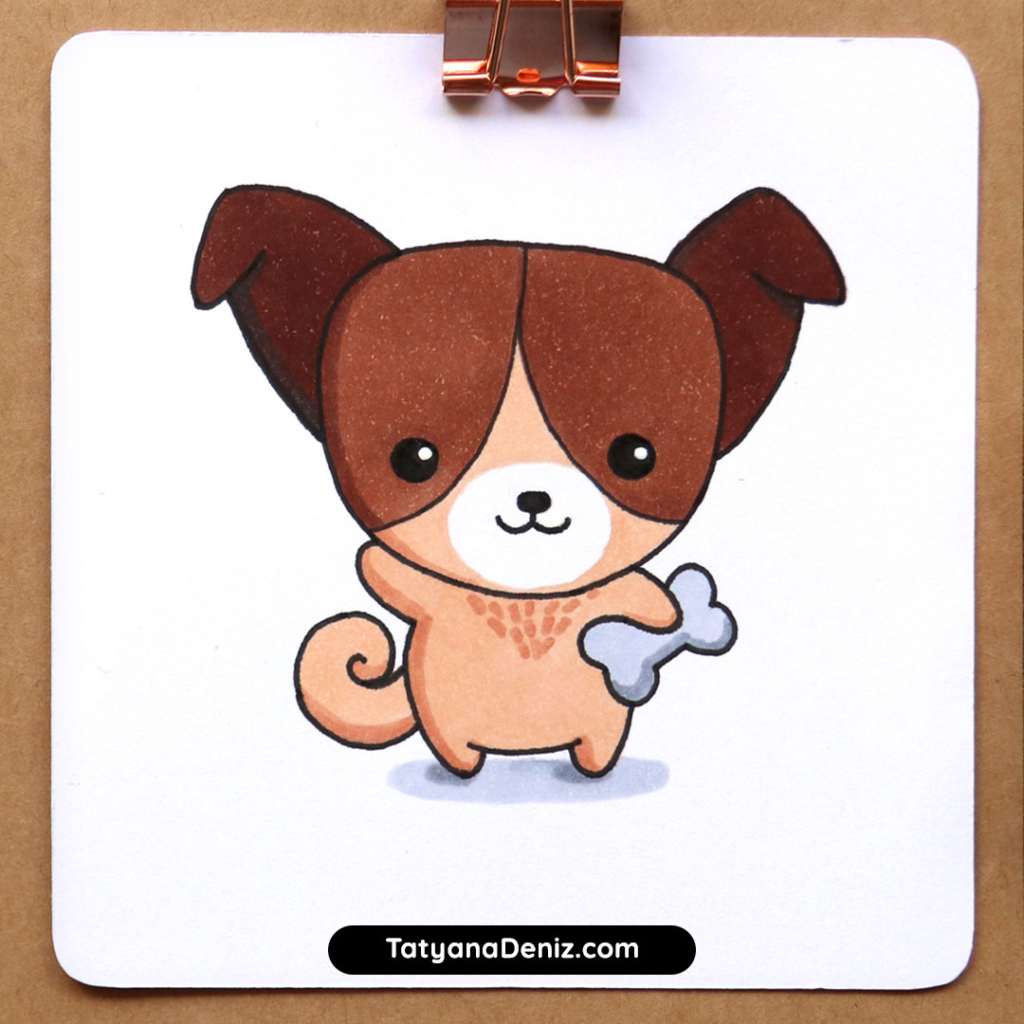
You can draw this cute kawaii Laika dog in just 4 steps, even if you’ve never drawn one before. The tutorial builds up the drawing one element at a time — starting with the head and body, then adding the ears, face, and details. Colouring tips are included below so you can finish it off with confidence too.
👉 CLICK HERE to Pin This Tutorial 👈

👉 CLICK HERE to Pin This Tutorial 👈
Printable PDF
Please enjoy it for personal use, and please give me credit and link back to this post if you share it with others.
Drawing & Colouring Tips
- Notice that the head is bigger than the body, for that really cute kawaii look
- Before you start to colour, select your colours and test them on a piece of scrap paper to make sure the colours work together.
- If you are not sure what colours to use, look at a reference image. You can’t possibly “just know” what everything in the world looks like. Good artist know… great artists look it up!
- Colour the light areas first, then add darks. This way if you go outside the lines with the lights, you can just cover it up with the darks. Makes things faster, hehe.
- When colouring with Copics markers, I like to use circular motion so you can’t see the streaks. I don’t know if it’s “the right” way to use alcohol-based markers, but that really works for me.
- I like to get the full strength of colour in the first pass, so I go over and over the area many times to achieve a smooth and even tone. I find this to be better than returning for second or third layer…
What are some of your favourite Copic colouring tips?
Leave a comment below to share your tips. 🙂
Materials I Used

- Copic Markers

- Caribe Cocoa E25
- Light Suntan E13
- Africano E27
- Baby Skin Pink E21
- Cool Gray C2
- Cool Gray C4
- Neutral Gray N6
- Copic Multiliner pen, black, 0.5mm
- X-Press It blending card (paper)
- Pencil
- Erasers:
- Faber-Castell Dust Free Eraser
- Tombow Mono Zero eraser
FAQ
Start with your lightest colours first and work toward the darker ones — that way if you go slightly outside the lines, the darker colours will cover it up. Copic markers work beautifully here, but any coloured markers or pencils will give a great result.
Not at all. Tatyana uses Copics, but the same steps work with any colouring tools you have — coloured pencils, brush markers, or even crayons. The Copic colour chart on the page is a helpful reference if you want to match the original, but feel free to use your own colour choices.
Yes! The body shape in Step 1 is very versatile. Swapping the ear shape and adjusting the face markings is usually enough to suggest a different breed. The same base also works for other kawaii animals — Tatyana uses it for the cat tutorial too.
Drawings Gallery
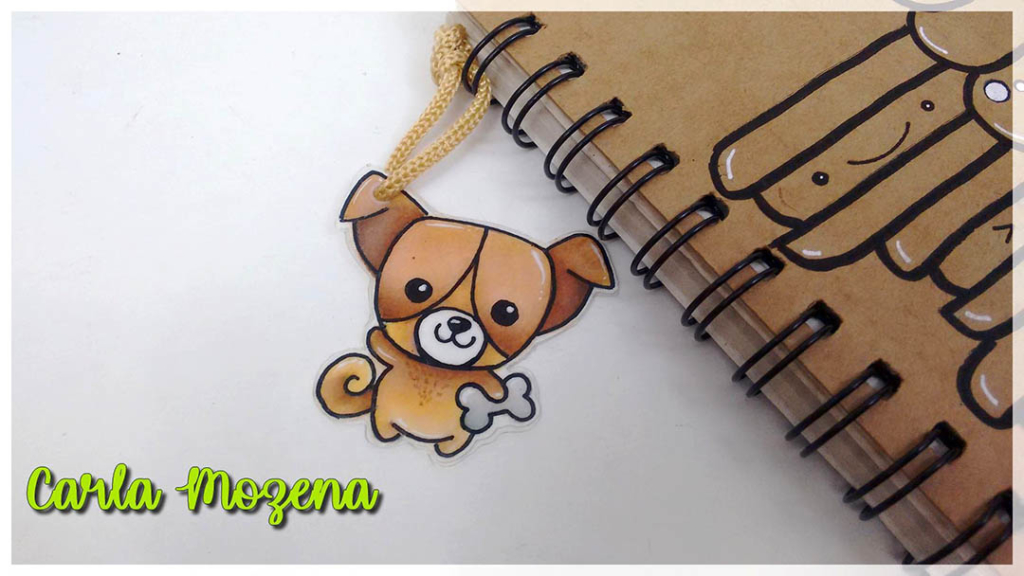
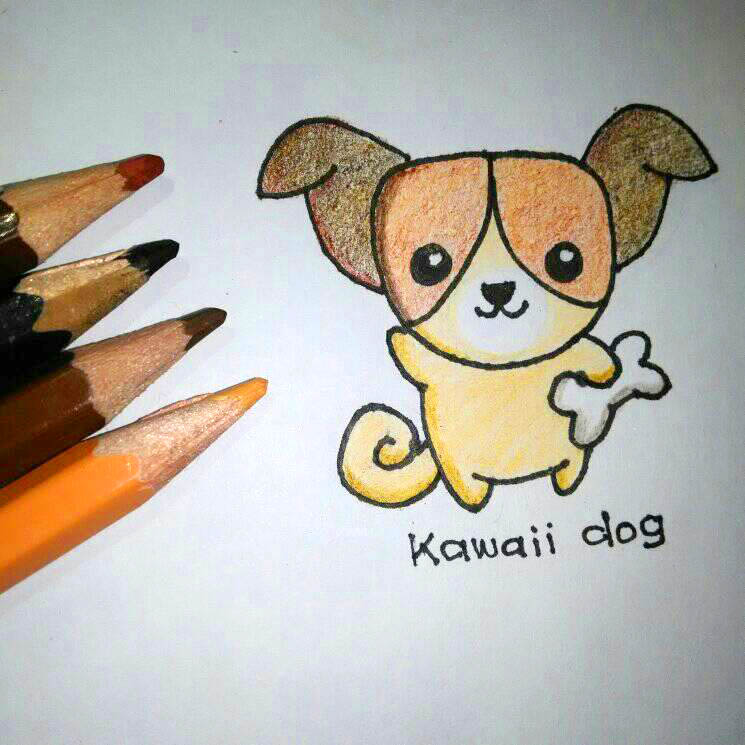
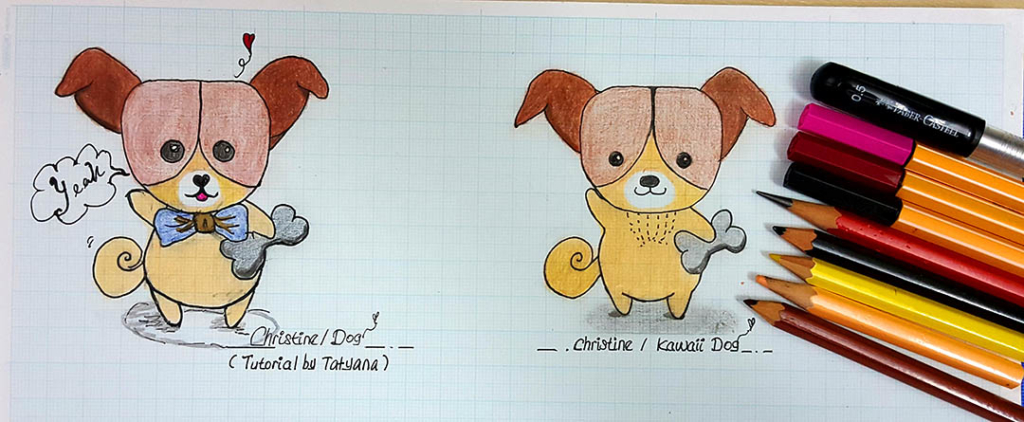
Here are a few drawings of this kawaii dog from our drawing community on Facebook. So beautiful! Thank you for sharing.
If you would like your work to be featured, please post your drawings in our private Facebook group. Or Instagram @tatyanadeniz or #tatyanadeniz so I can find you.

Share the Love
If you like this tutorial, please share it with your friends using the buttons below. 🙂 It’s so much fun to create together! ♥
Happy drawing,


