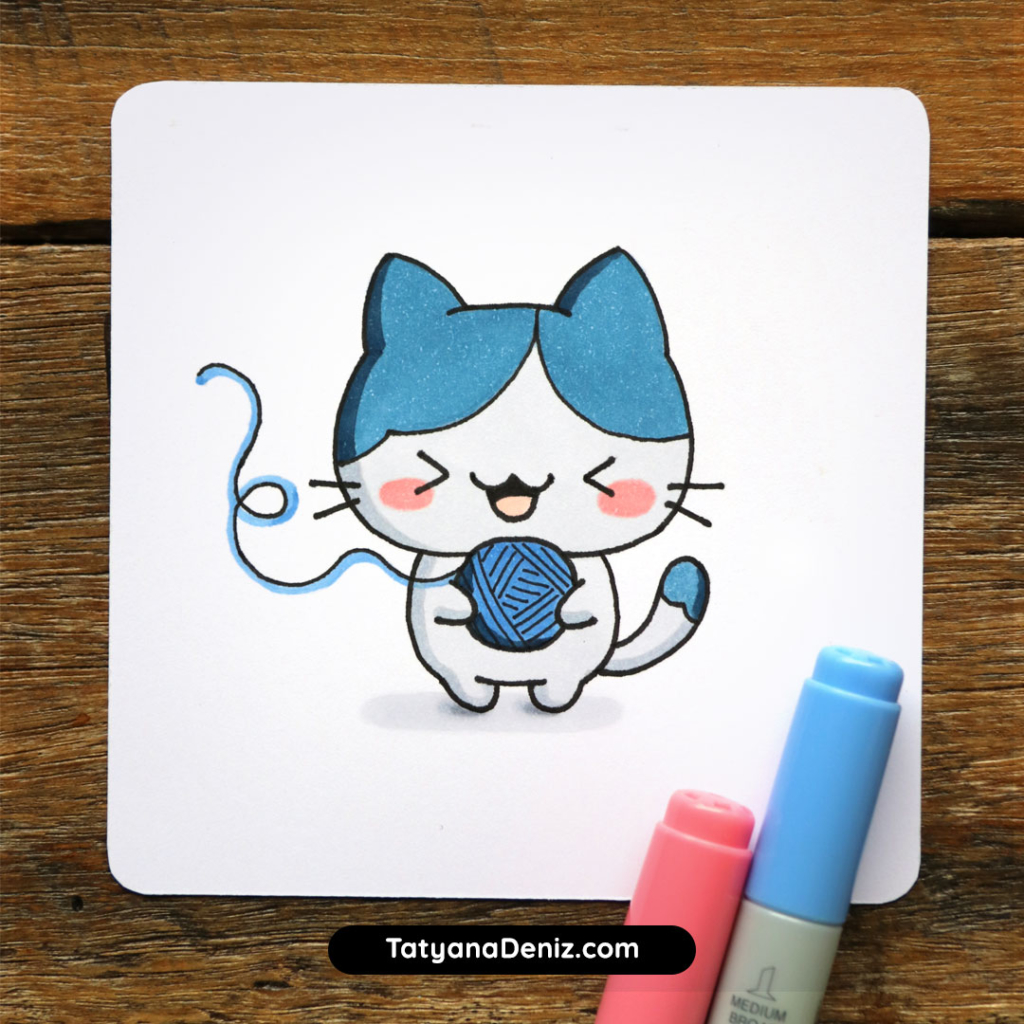
You can draw an adorable kawaii cat in just 4 simple steps and you don’t need any drawing experience to get started. We’ll build her up from a big round head, add a cheeky face and a ball of yarn, then finish with colour.
A free printable PDF is included below, along with a materials list and pro tips for getting the proportions just right.
👉 CLICK HERE to Pin This Tutorial 👈

👉 CLICK HERE to Pin This Tutorial 👈
Printable PDF
Please enjoy it for personal use, and please give me credit and link back to this post if you share it with others.
Kawaii cat tutorial tips
- First, make the head of the kitty big — bigger than you think! Looking at step 1, you’ll notice the head is nearly twice as wide as the body, and taller than it too.
- Next, there’s a middle line included as a guide to help with symmetry. You don’t have to use it, but honestly, it makes such a difference. In fact, almost every kawaii drawing I create starts this way — it’s exactly the process I follow.
- Also, try adding a shadow at the bottom to “ground” the drawing, so the kitty looks like she’s standing on a surface rather than floating in white space. This is such a handy trick for so many drawings — a simple shadow makes everything feel more polished and comfortable to look at.
- Finally, the great thing about this body shape is how versatile it is. Once step 1 is done, try adding different ears and faces to turn it into a bunny, bear, or fox. For example, a kawaii dog uses the exact same base shape.
More Kawaii Animals Tutorials
If you found this Kawaii cat tutorial fun, please checkout these other drawing tutorials on how to draw other kawaii animals. Links included so you can easily jump to them.
Materials I Used

For this tutorial, I used Copic markers — but any coloured markers or pencils will work just as well!
- Copic Markers

- Copic Multiliner pen, black, 0.5mm
- X-Press It blending card (paper)
- Pencil
- Erasers:
- Faber-Castell Dust Free Eraser
- Tombow Mono Zero eraser
FAQ
All you need to get started is a pencil, an eraser, and any paper you have on hand. For this tutorial I used Copic markers and a black Copic Multiliner pen, but any coloured markers or pencils will give you a great result. See the full materials list above for the exact supplies I used.
Yes, this tutorial is designed specifically for beginners. Every step is broken down into simple shapes, and there are no complex proportions or realistic detail to worry about. If you can write by hand, you already have the motor skill needed to draw this.
Once your line art is complete, start with the lightest colours first and layer darker shades on top to build depth. For markers, work quickly to blend while the ink is still wet. If you’re new to colouring, a simple flat colour with a slightly darker tone on one side is all you need for a polished result.
Paper is completely fine — this tutorial works just as well with a pencil and markers as it does digitally. An iPad with Procreate is a great option if you want an easy undo button while you’re learning, but it’s not a requirement. Start with whatever you already have.
Drawings Gallery
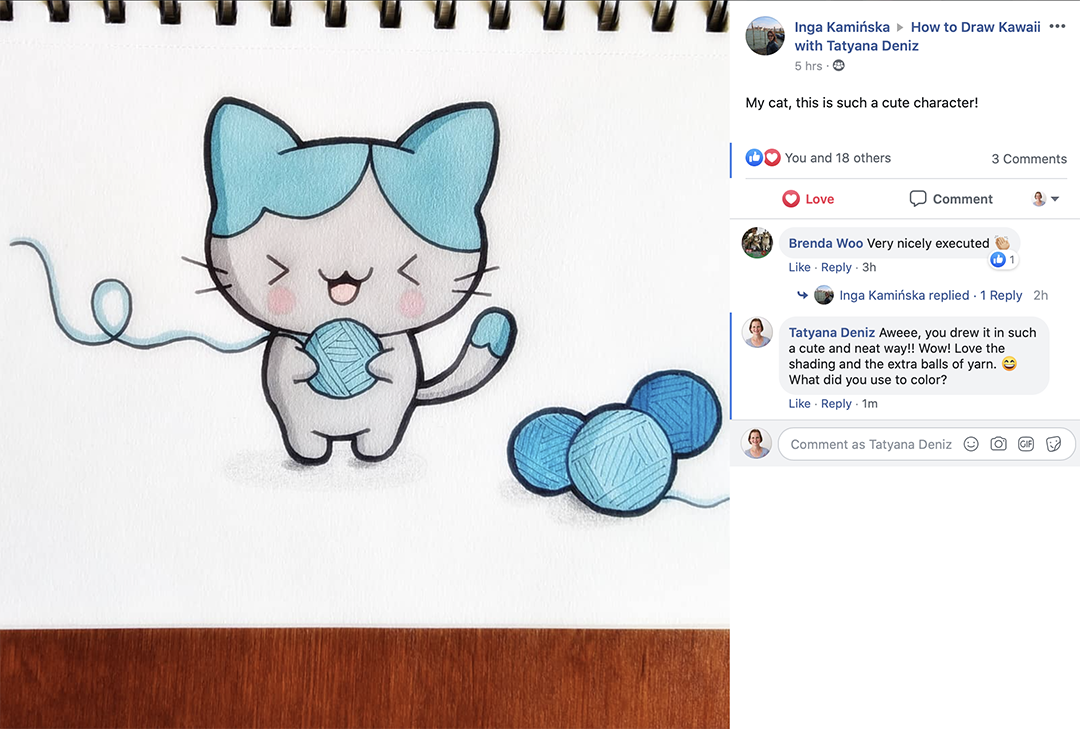
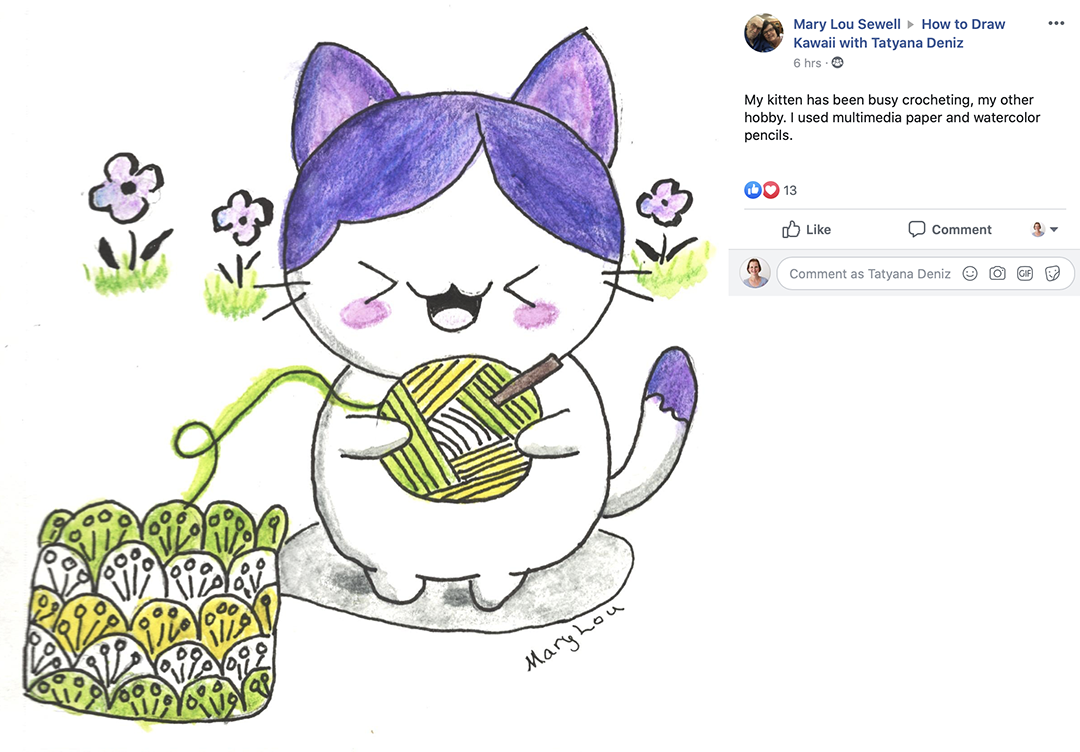
These drawings from our community are just incredible — thank you so much for sharing, everyone!
By the way, if you’d love to connect with other artists like these, our Happy Creators Collective is the place to be. It’s a warm, supportive community where we draw together, share our work, and grow as creatives.
Want your work featured here too? Please post on Instagram and tag me @tatyanadeniz or #tatyanadeniz .


Share the Love
If you like this tutorial, please share it with your friends using the buttons below. 🙂 Let’s create together! ♥
Happy drawing,