Kawaii Kiki and Tombo
This week I practiced drawing accessories that I could add to add interest and story to my kawaii character.
So in this post I will share with you ways to add accessories to your drawings and make them more interesting. Sometimes, accessories are just for decoration. But at other times, they are key components that make or break the impact of your drawing.
This is Week 18 of my drawing challenge to learn kawaii drawings in 6 months. Join me and track my progress week by week!
How to Use Accessories to Tell a Story
Accessories are objects that help to tell the story of the drawing. They decorate, embellish and add to the narrative. For example, a cowboy has his boots and lasso, while a witch has her hat and a broom.
I place kawaii accessories in three categories: charms, badges and actual accessories.
What Do I Mean by Charms
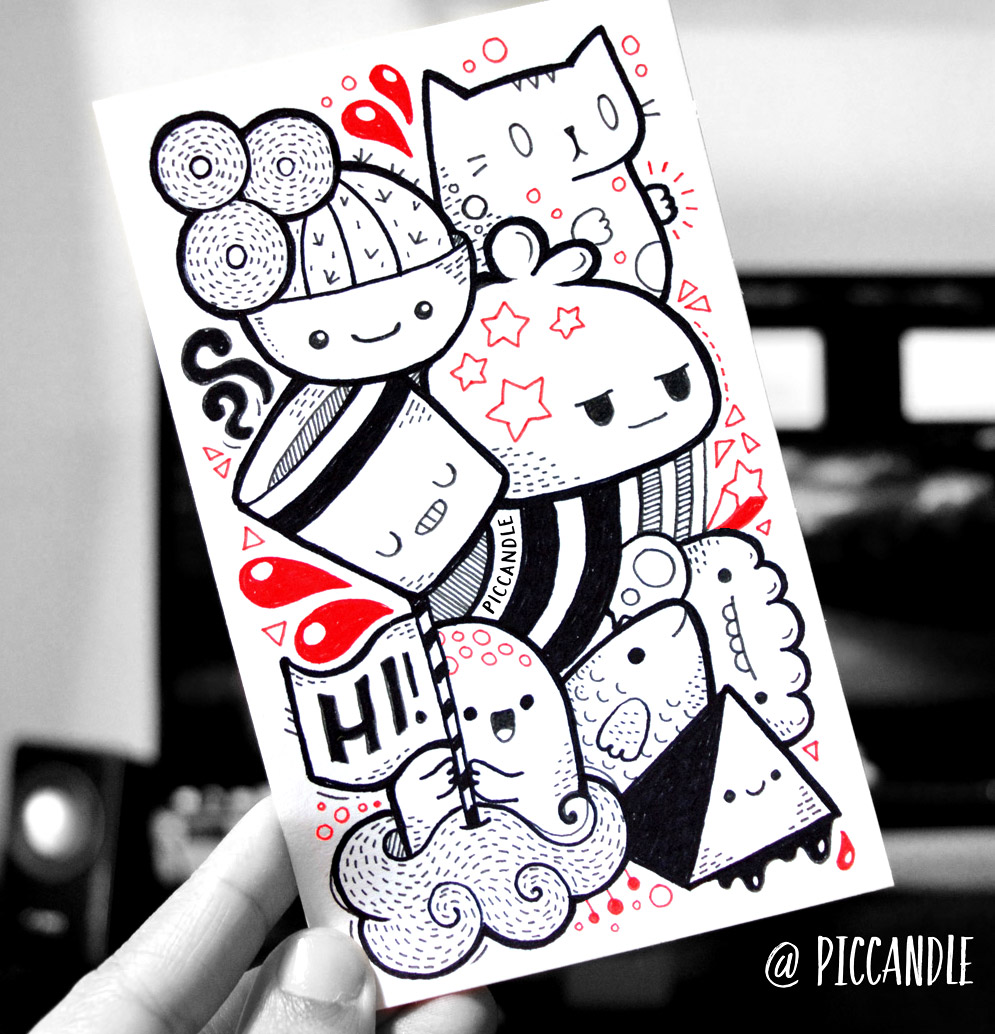
Kawaii charms are decorative elements, added to kawaii drawings at the end to make them visually interesting. Generally, they don’t represent real objects (like bags or pencils), but are more of abstract shapes, such as circles or stars.
Charms are different to textures. Textures are used to add dimension and tactile feel to a drawing. Charms are for decoration and storytelling.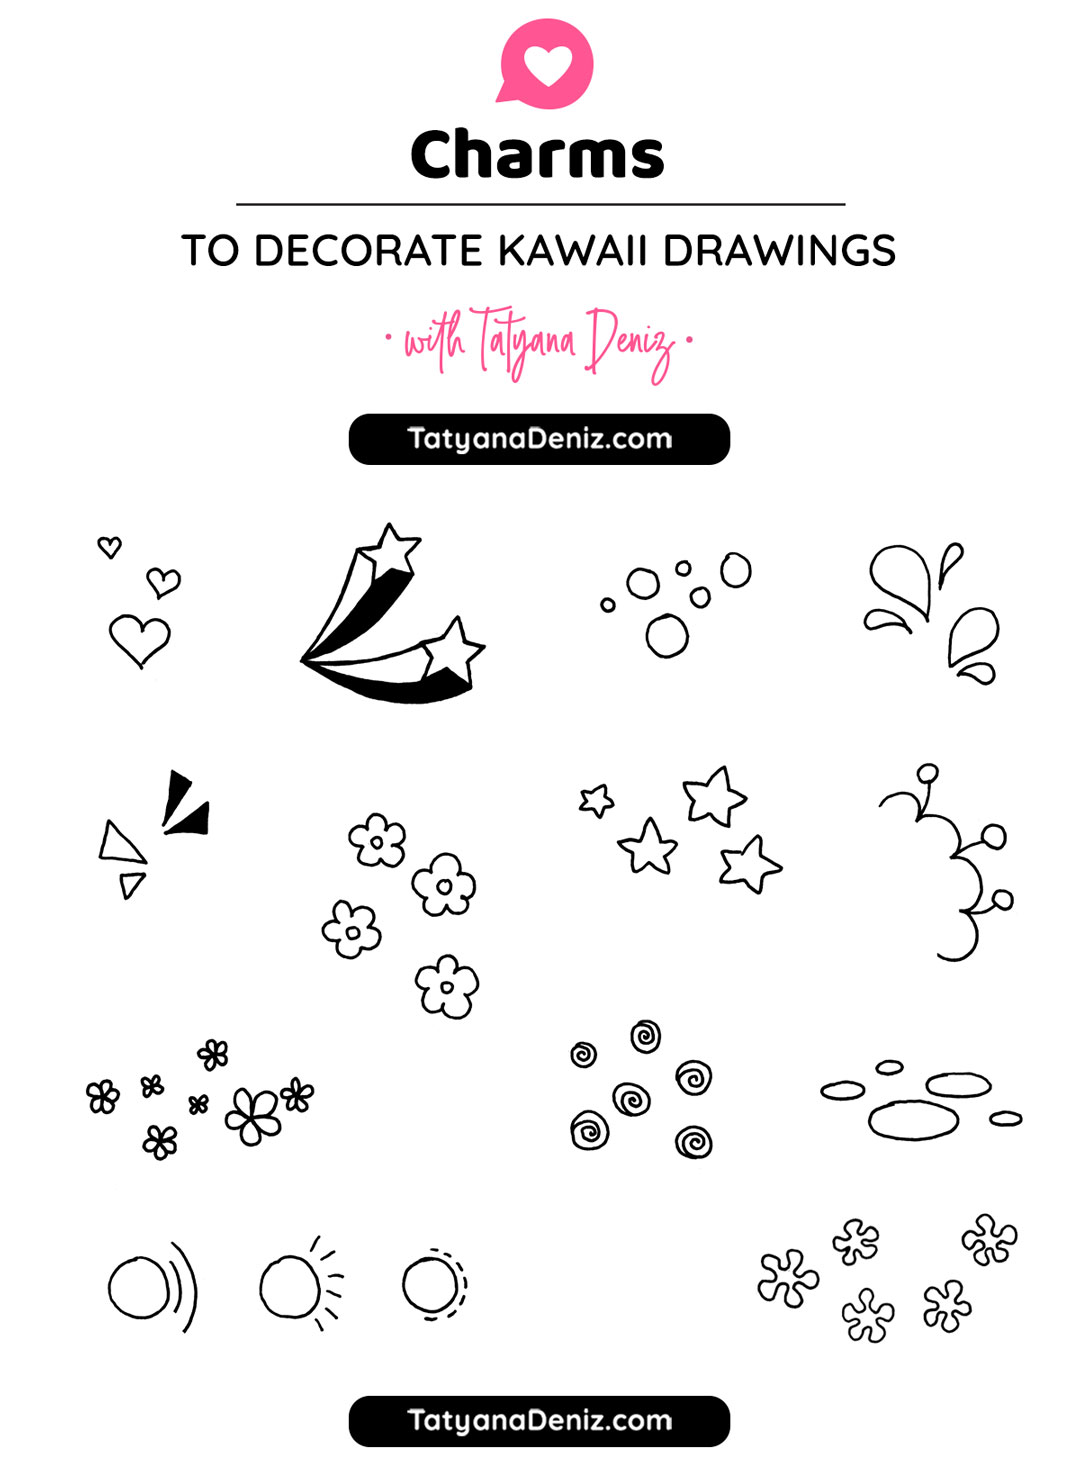
How To Add Charms to Kawaii Drawings
Below is an example of an illustration by Zainab Khan (PicCandle) that uses kawaii charms. I’ve coloured the charms in red to clearly demonstrate how to apply them.
What Are Badges and How to Use Them
Badges are decorative elements that can be “pinned” to clothes or entangled in the hair of kawaii characters. They are more representative of real objects than charms. But they are not the actual objects that the characters hold and interact with. For example, this gorgeous illustration of Hello Kitty is full of charms and badges tucked away in her fuzzy outfit: hearts, bows, lollies… you name it 🙂
How to Use Accessories in Kawaii Drawings
Finally, the actual accessories for kawaii drawings are the objects that the characters are affiliated with. They add personality to the characters and tell their story. For example, Kiki from Kiki’s Delivery Service always travels with her cat and broom. Jiji, the cat, is very much a part of Kiki’s character and what we know about her.
Accessories + clothes are what makes up costumes for kawaii.
I drew a few accessories, in no particular order, that seemed fun and relevant to kawaii drawings. Use these for ideas on how to create your own accessories and add them to your characters.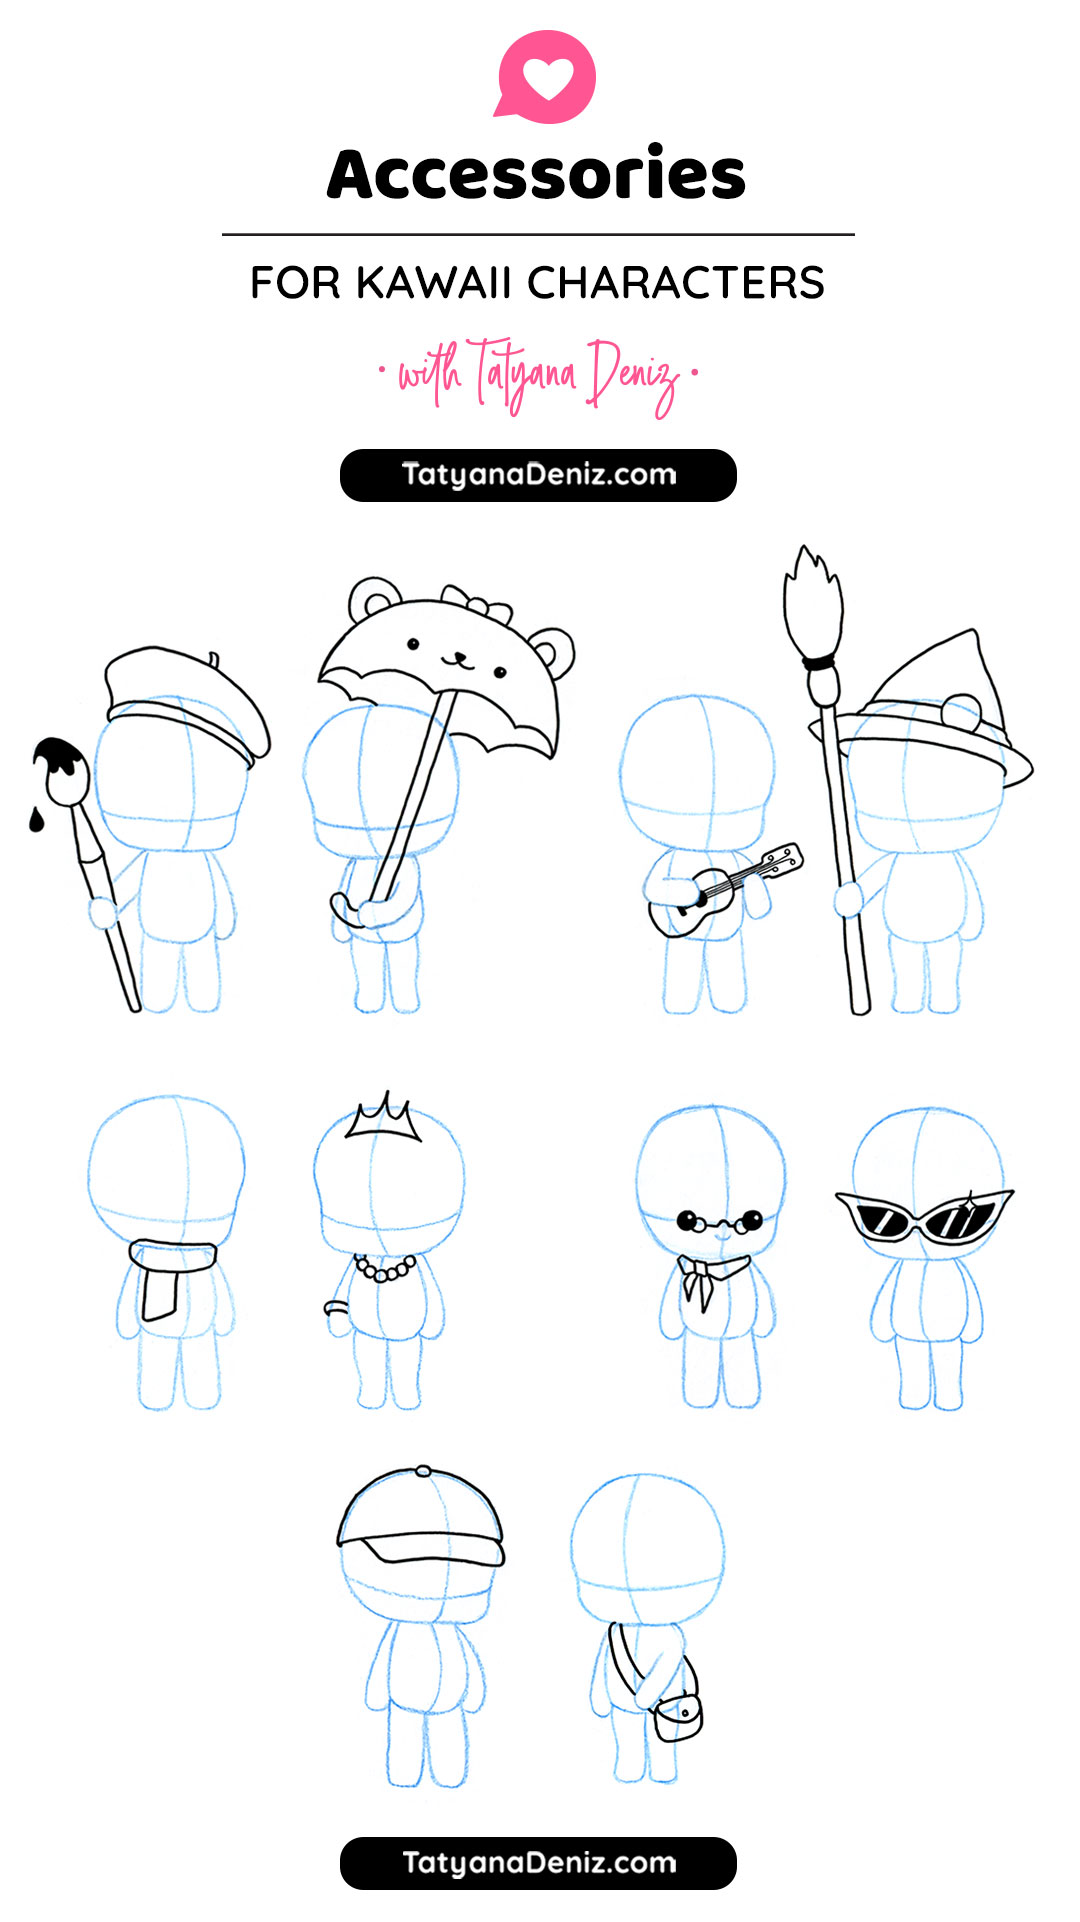
Putting It All Together
All this talk about kawaii accessories… it’s time to design my own! Scary again, I know.
But it’s Week 18 of my drawing challenge – I should be making some progress!
Ok, here I go…
I decided to draw kawaii versions of Kiki and Tombo from Studio Ghibli film Kiki’s Delivery Service. Our family loves this movie, especially our son, so it was a natural choice.
First I sketched two bodies of a boy and a girl. These are the same bodies I’ve used for the post on kawaii clothes and for drawing accessories in this post.
Then I added clothes, and… accessories! Kiki has her bag, witch’s hat, Jiji and broom. Oh, and a giant bow! Tombo is into making airplanes, so he is holding a propeller and a wrench.
Once I was happy with the sketch, I used black pens (see Material’s section below) to outline the drawing. Finally, I coloured the line drawing with Copic markers.
Line drawing of kawaii Kiki and Tombo from Studio Ghibli’s film Kiki’s Delivery Service
Materials I Used This Week
- Sakura Graphic pen, black, size 1
- Copic Multiliner pen, black, size 0.3
- Tombow Dual Brush pen, black
- Copic Ciao markers
- Prismacolor colour pencil, blue
- Bleedproof paper
- Tracing paper
- Mechanical pencil
- Faber-Castell dust-free eraser
- General’s Kneaded eraser
References
- Manga for the Beginner Kawaii book by Chris Hart
- “Massive Manga: Techniques for Drawing, Inking and Colouring” book by Yishan Li
- My earlier post on drawing kawaii clothes
- My earlier post on drawing kawaii hands and feet
- This article about using Copic markers
Drawing Time Diary
Mon, March 13: no drawing
Tues, March 14: no drawing
Wed, March 15: 40 mins, 1 hr 20 mins
Thur, March 16: 1.5 hrs
Fri, March 17: 45 mins, 1.5 hrs
Sat, March 18: 3 hrs
Sun, March 19: 30 mins
Total drawing time: 9 hours 15 mins
Have you used Copic markers in your illustrations? Do you have any tips? Share them in the comments!
Subscribe to my kawaii newsletter to receive exclusive tips and updates! Thank you for reading and supporting me on this quest 🙂


