
Why bother with the objects? Isn’t the face cute enough? Well, we want our drawings to reach people on an emotional level, and the best way to do this is by telling a story within the illustration.
Incorporating objects in a deliberate way enables powerful storytelling.
Below are 7 tips for successfully adding objects to your own kawaii illustrations.
1. Draw the Objects Really Big
Drawing kawaii is all about exaggerated cuteness, borderline ridiculous. Therefore, make the objects that kawaii characters interact with REALLY big. If a coffee-loving bunny is hugging a coffee cup, make it 5 stories high!
2. Use Iconic Objects and Relationships
When designing kawaii illustrations, use iconic object relationships that the viewers can relate to. We take comfort in familiar settings. You are looking for a response of “Aha, I get it!”
My drawing teacher Richard Porter once said, “If an artwork requires a paragraph or a video to go along with it, that artwork has failed.”
Don’t confuse your viewers or ask them to look for some obscure meaning (which you may or may not even intended). Let your idea shine through by using objects we can all understand.
3. Create a Bond Between the Viewer and the Character
We feel love towards our furry friends. When you draw kawaii pets, such as puppies, kittens or hamsters, you evoke this existing emotion of love and warmth, and create a bond between the drawing and the viewer.
After all, why do we look at art? Because we want to feel something, we want to be moved.
4. Show a Small Part of the Head For Max Cuteness
Giant cup + tiny kitten = cute 🙂
Sometimes what we don’t see is what’s most interesting. When you see a kitten head poking out of the cup, you can’t help but wonder what her body looks like. Is she tippy-toeing inside the cup to reach the rim? Is she hiding some treats? Will she be able to climb out?
What we don’t see stirs up the imagination. It allows us to create our own stories.
Children know this instinctively. That’s why they love the game of “peekaboo”.
Just ask our son 🙂
5. Turn Everyday Objects Into Kawaii
Most of us use credit cards and carry them around in our pockets. Why not give them a voice? Oh, and a face too.
This is another example of a pet/buddy relationship, except it’s not with a classic pet character, but with an object we see and use every day. Having some fun with it!
I am really liking this kawaii in a pocket idea. I can call it “pocket buddies” or “pocket pets” or “pocket pals.” What do you think? Let me know in the comments 🙂
6. Avoid Faces in Perspective!
When it comes to drawing characters with objects, you often feel the need to turn the character to match the position of the object.
BUT….
As I learned through research and experience, perspective and kawaii don’t go together. A face that is turned to 3/4 view is just not cute! I am not even going to mention profile view… ha.
The only other view that can be cute is back view, but then you don’t have the added power of putting a kawaii face on it.
So, can we only have front-facing “puppets” in our drawings?!! That’s so boring! No, even if the body of a character is turned sideways, you can still turn the head to the font. Hello Kitty illustrations do this really well.
7. Have Fun With It
When you are having fun with your drawings, it shines through. It’s contagious!
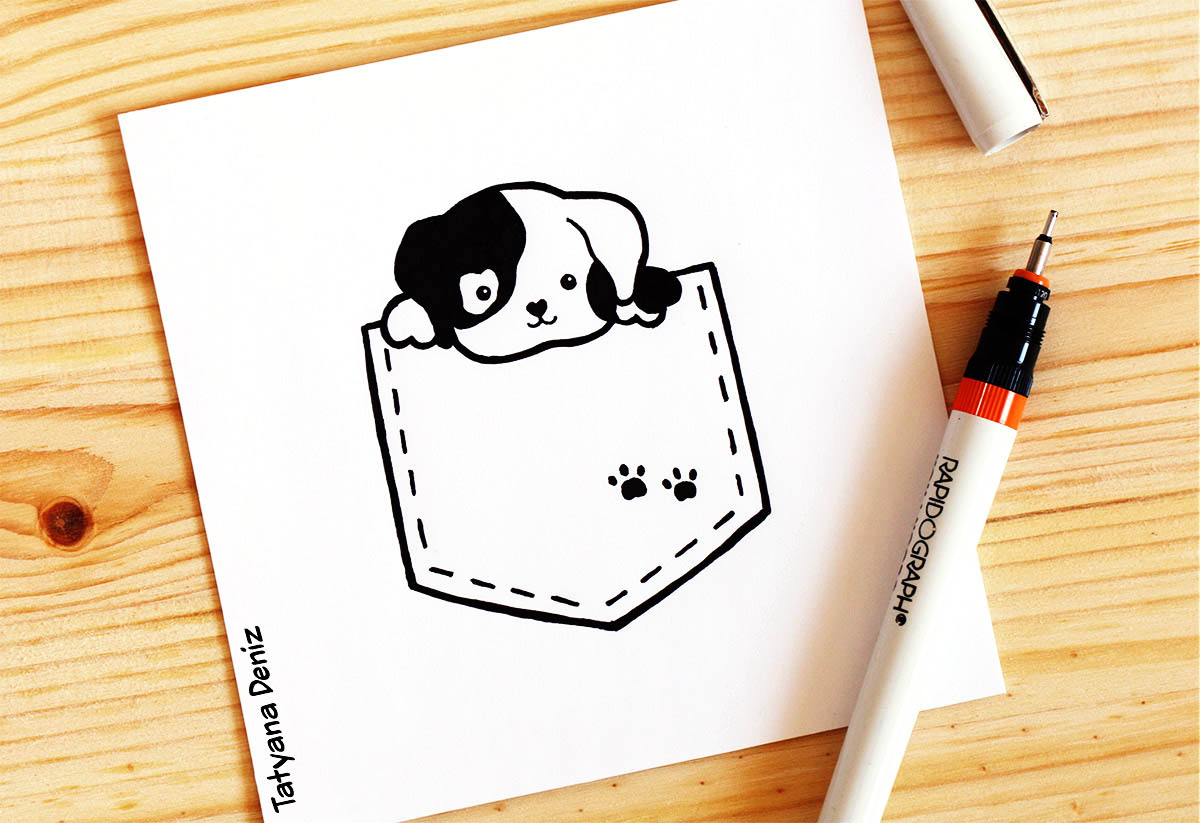
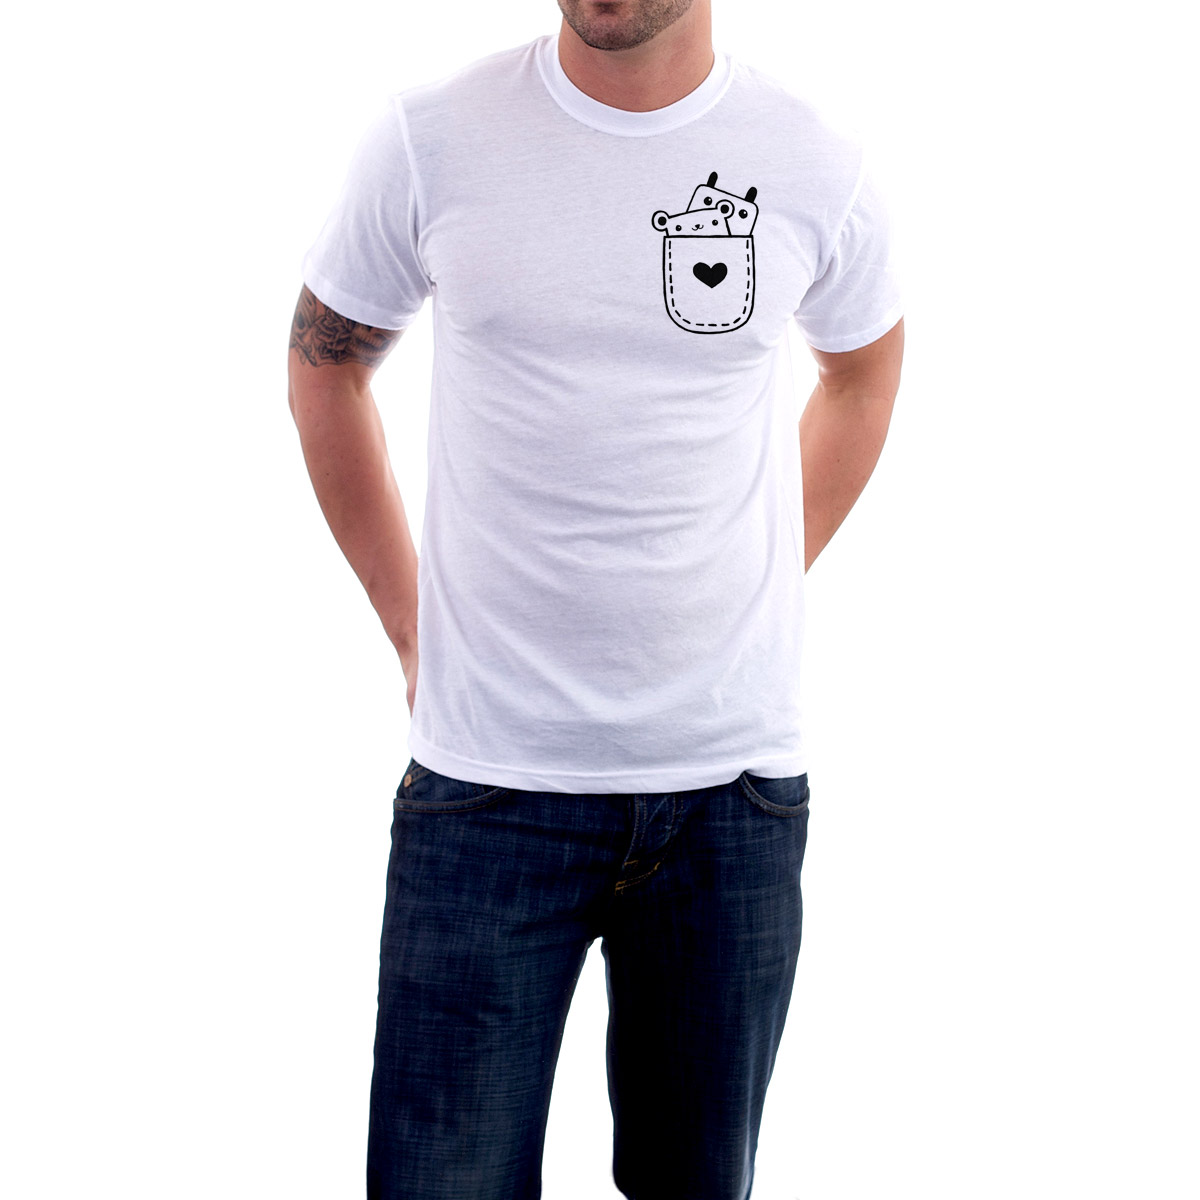
Fun means different things to different people, so ask yourself what is fun for you. To me, it was really fun to draw kawaii in a pocket for this post. I did one, then I felt inspired and did a few more. And then I thought, oh why not put them on t-shirts! Voilà…
No no, I didn’t actually go ahead and create t-shirts (yet?) with my kawaii buddies. I used a free design kit from Design by Humans that contains various male and female t-shirts on transparent backgrounds. Thank you Design by Humans! Here is a direct link to download the kit.
Then I used this tutorial to photoshop the line art onto the t-shirts. This is my idea of fun 🙂
Which do you like best? Tell me in the comments! ♥
Materials I Used This Week
As you can see in the photos, I have been using Rapidograph pens this week. It’s my second time using them (first time was years ago), and I can see why many professional illustrators use them.
The main difference between using markers (such as Microns) and Rapidographs is that in the Rapidograph you are getting actual ink flowing out of the pen tip. It’s like using a nib, except that the width of the tip is always the same, and you don’t have to dip it.
Rapidograph puts down very even black tone FAST. But it will take some getting used to for me, since it is harder to produce a precise line, than with a pen.
Also, this week I used bleedproof paper, but it did not work very well with ink. It’s too thin for Rapidographs. Next week I will experiment with Bristol Vellum paper, and I will let you know how it goes with Rapidograph pens.
Full disclosure: I personally own and use all of these. If you buy anything using my links, Amazon will pay me a small commission (no cost to you - thank you!). But if you normally shop somewhere else, it's totally ok too.Drawing Time Diary
Monday, March 27: 45 mins
Tuesday, March 28: 45 mins, 45 mins
Wednesday, March 29: 1 hr 15 mins
Thursday, March 30: 45 mins, 1 hr 15 mins
Friday, March 31: no drawing (did photography instead)
Saturday, April 1: no drawing
Sunday, April 2: no drawing (writing blog post)
Total drawing time: 5 hours 30 mins
This post is part of my 6-month drawing challenge to learn kawaii drawings. Here is a link to the details of the challenge and a place to track my progress week-by-week. Thank you for reading 🙂
Next week I will delve deep into the subject of storytelling, so make sure to check it out next Sunday, April 9th. Have a great week!





Hi Tatyana,
All of them are so cute, nice and funny… but my favorite is == Giant cup + tiny kitten == ≧◡≦
Aweee thank you! I like the cup with the kitty too. 😀