
Kawaii hairstyles are similar to manga hairstyles, but they have their own specific features, which I describe in this post.
I also show examples of various kawaii hairstyles, including ponytails, braids and hairstyles for guys.
This is Week 19 of my drawing challenge to learn how to draw kawaii in 6-months.
Tips for Drawing Kawaii Hairstyles
- Kawaii hair does not look 3D. It looks like a flat shape. This means no shading and no highlights.
- Kawaii is known for looking chunky and squishy, and kawaii hair is no exception :). It can still be pointy, but not as much as manga hair. No wispy ends, even though I love them so much!
- Keep the overlap of individual hair strands to a minimum. Focus more on creating an interesting overall shape of the hair, rather than arranging individual strands.
- Use fun colours! Kawaii hair can be blue, purple or orange, and it won’t damage it a bit 😉
- Make the outline of kawaii hair continuous. Unlike drawing realistic hair, where you use a broken outline to show hair overlap, kawaii hair outline goes all around the head and hair in one smooth line.
Manga Hair vs Kawaii Hair
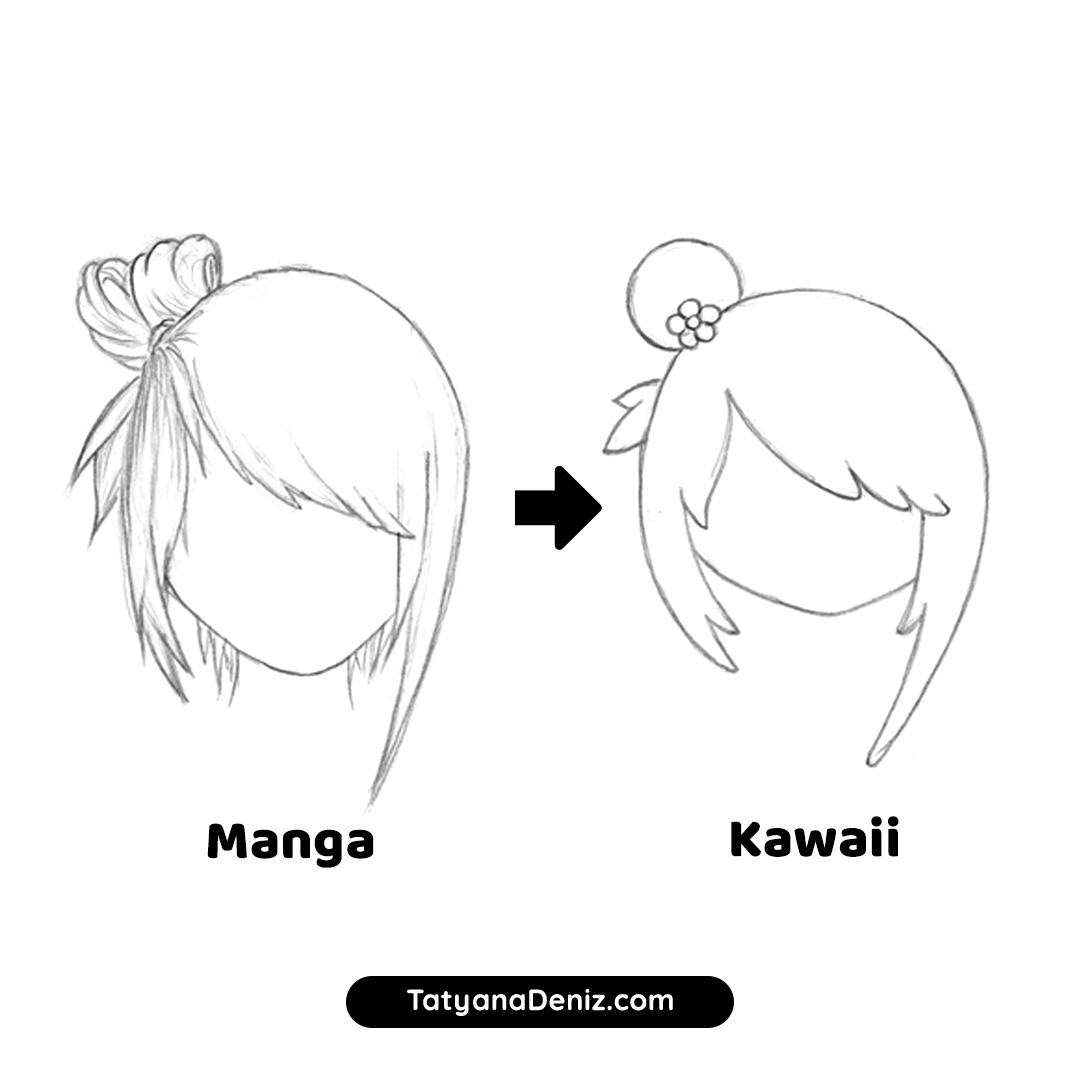
A good place to look for kawaii hairstyle ideas is manga hairstyles. They are already fun and imaginative (and entirely unrealistic!), but they need to be adapted to fit kawaii characters.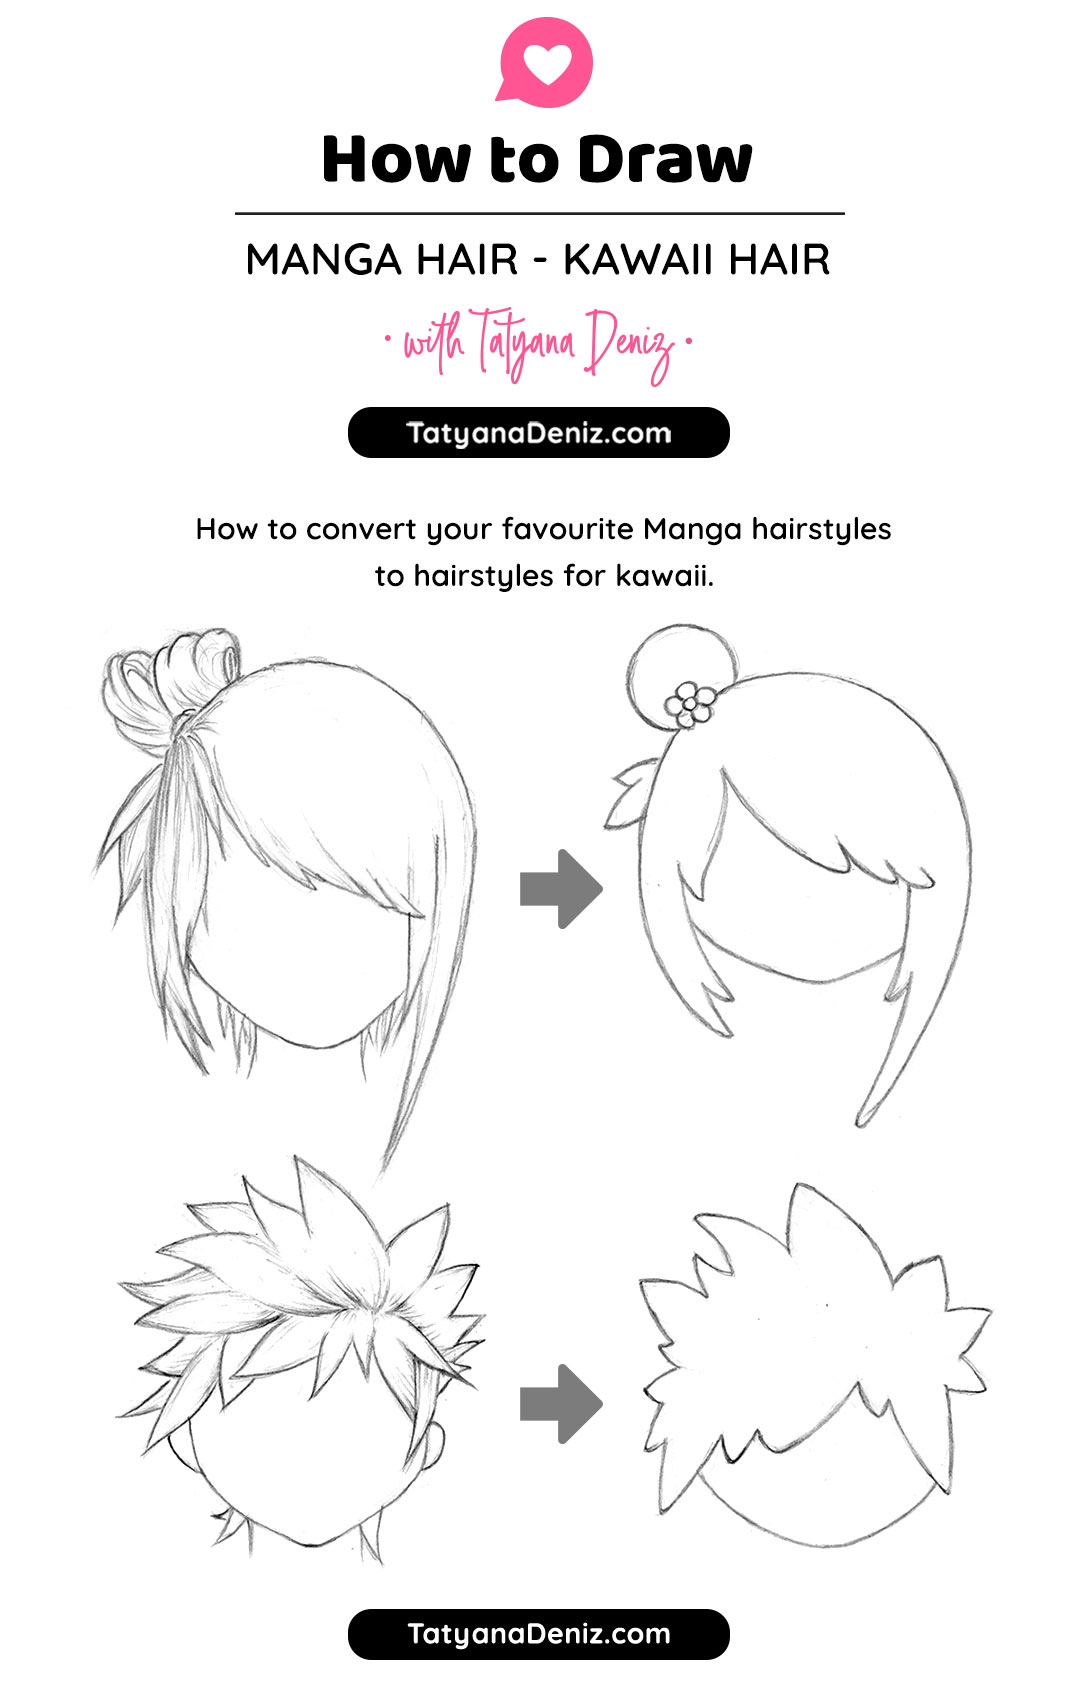 Smooth out those spikes into plump chunks. Make them look like dreadlocks! That’s why kawaii dudes are the coolest, ha ha.
Also notice the focus on simple shapes. In the example with women’s hair, the complex bun of hair has been transformed into a simple circle (well, circle + a flower clip).
Finally, make the outline of the hair really smooth. No overlaps, no broken lines, no single strands of hair poking out. Just one continuous line.
Voilà, you are done!
Six Examples of Kawaii Hairstyles
Below are a six examples of hairstyles for human kawaii characters. These are inspired by Chris Hart, my own manga-to-kawaii experiments, and a touch of my Russian heritage (yes, I am talking about the girl with a giant braid).
Main challenge is to get the hair to actually “sit” comfortably and believably on the head. To achieve this, wrap the hair around the shape of the head.
- First, draw a circle (or something that resembles a circle).
- Mark out where the hairline will go. Literally, draw a line where you see the hair beginning to grow out of the skin. You will adjust it later for bangs, etc. But visualising the hairline helps to position the rest of the hair. You can also sketch in the eye line and centre line of the head. I do this automatically, almost always 😉
- Now, draw the hairstyle of your choice.
Another point to keep in mind: don’t make the hairstyle completely symmetrical. That makes it boring. Shift the ponytail to one side. Split the bangs to the other. Draw a rogue strand poking out to diffuse perfect symmetry.
Beyond Hairstyles and On To Moustaches
But why stop at hairstyles?! Moustaches can be soooo kawaii :D!
As I looked at my darling husband (and his generous stubble), I decided that I needed to cover facial hair as well. Below are 10 fun moustache shapes, “borrowed” from famous moustache wearers throughout history.
Oh, I just like a good challenge, don’t I! I mean, how do you take a hairy masculine face and turn it into an angelic character that begs to be hugged? Below are 3 examples of doing just that.

Kawaii moustache pillow designed by Cute & Kawaii Pillows
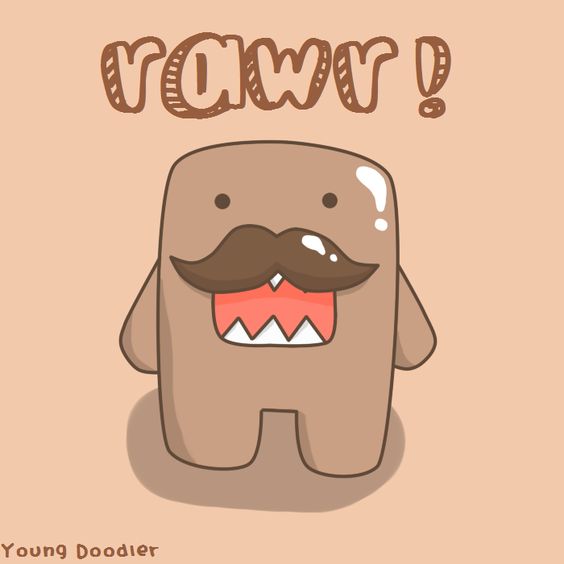
Moustache Domo by Young Doodler

Kawaii Moustache Socks post on Kawaii Case blog
And just for fun, here is my drawing of a kawaii hipster 🙂 – the hairiest of them all! It took me three versions just to get it close to looking kawaii. What do you think?
Materials I Used
Here is a list of all the materials and drawing references I used this week.
- Micron Graphic pen, size 1, black
- Artline Drawing pen, size 04, black
- Faber-Castell dust-free eraser
- Conte Graphite pencil, 2B (to experiment)
I knew this day will come, when my trusty single-width mechanical pencil will not do the job. This day came this week, when I found myself reaching for a “traditional” pencil. You know, the kind you sharpen by hand.
My pencil of choice is Conte Graphite. It’s softer than regular pencils, and it feels buttery. I love it. It can produce a very strong dark line, but it can also lay a very flat tone. It smudges easily, so make sure to put a paper under your palm to protect existing lines.
Full disclosure: I personally own and use all of these. If you buy anything using my links, Amazon will pay me a small commission (no cost to you - thank you!). But if you normally shop somewhere else, it's totally ok too.References
This week I discovered (re-discovered?) DeviantArt. So many inspiring artists there, so much good art! I used it to research manga hairstyles, and I also must have spent at least 2 hours just browsing and discovering people.
Here are the references I used and artists I found.
- Manga for the Beginner Kawaii book by Chris Hart
- Learn Manga Basics Female Hair Styles by Naschi
- Hair Reference by Tenzen888
Drawing Time Diary
Mon, March 20: 1 hour
Tues, March 21: 45 mins
Wed, March 22: 30 mins, 1 hour
Thur, March 23: 45 mins
Fri, March 24: 45 mins, 1 hr 30 mins
Sat, March 25: no drawing
Sun, March 26: no drawing
Total drawing time: 6 hours 15 mins
If you liked this post, share it with your friends 🙂
What is this drawing challenge about? Read detailed description and track my progress week-by-week. ♥


can you do a shoes one
Oh, that’s a good idea! I did clothes for kawaii in the post about Accessories. 🙂
Luv the 1st one with the curly pig-tails and the 4th one with the big pony-tail!
Your website is awesome and super helpful!
So happy to hear this, Adair 🙂
So helpful :3 I love this websit
Thank you so much, Serina!
So helpful :3
These are srlsy epic. The hairstyles really looks kawaii on my drawing <33
Yay, thank you!
so amazing and cute! I <3 it
Yay, I am so happy you like it. 🙂
this is so amazi’n for my report on kawaii stuff thx so much for this infromation
Awesome, I am glad it’s helpful! Let me know if there is anything specific you would like. 🙂
c’est super beau
Thank you for your comment, Jasmine! 🙂 I am glad you like it.