This is Week 22 of my 6-month challenge to master kawaii drawings, and the topic for this week is narrative.
In the post below I will show ways to add narrative to your drawings. I will describe exactly what narrative is, why we need to use it, and how to use it effectively.
In my previous post I wrote about rich storytelling in drawings. The goal for this week is to go even deeper into the subject of visual storytelling, and to tell stories with our art that will be understood and remembered.
Let’s get right to it!
Narrative vs Storytelling
Narrative and storytelling are very similar. You can think of narrative as a form of storytelling, with an emphasis on sequence-based events.
A story can describe very colourfully a moment in time, and that alone can be transformational. But when the story uses narrative, it describes events that happened in a sequence, one after another. It’s a journey.
To illustrate narrative, artists use the following visual devices to show sequence:
- Arrows
- Numbers
- Descriptive text
- Thought and speech bubbles
- Panels (like comics)
Why Illustrate With Narrative?
A picture is worth a thousand words, we’ve all heard that. We, humans, have an amazing ability to quickly grasp and process information from visual images.
Ikea designers know this. That’s why they illustrate manuals instead of writing lengthy descriptions in multiple languages.
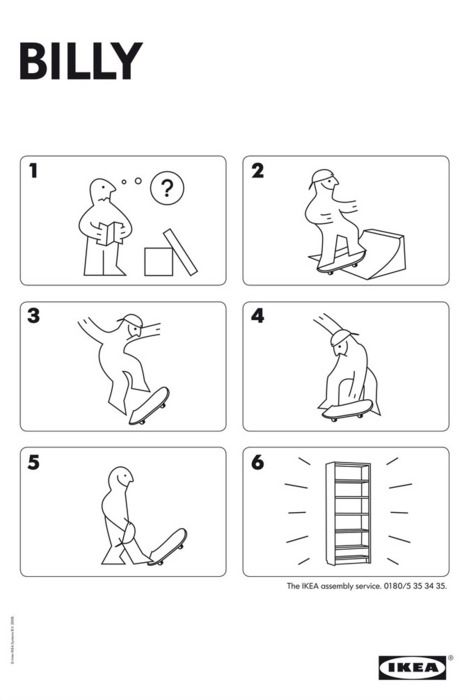
Ok, yes they can be confusing sometimes, and have to be approached with patience and humour. They can even create conflict between partners (no one here, of course!). But they are also fun to decode and understand. Most of the time they get the job done. Personally, I haven’t once yet called Ikea for help with assembly instructions.
Certain subjects are just ideally suited to the narrative format. Let’s look at three proven examples.
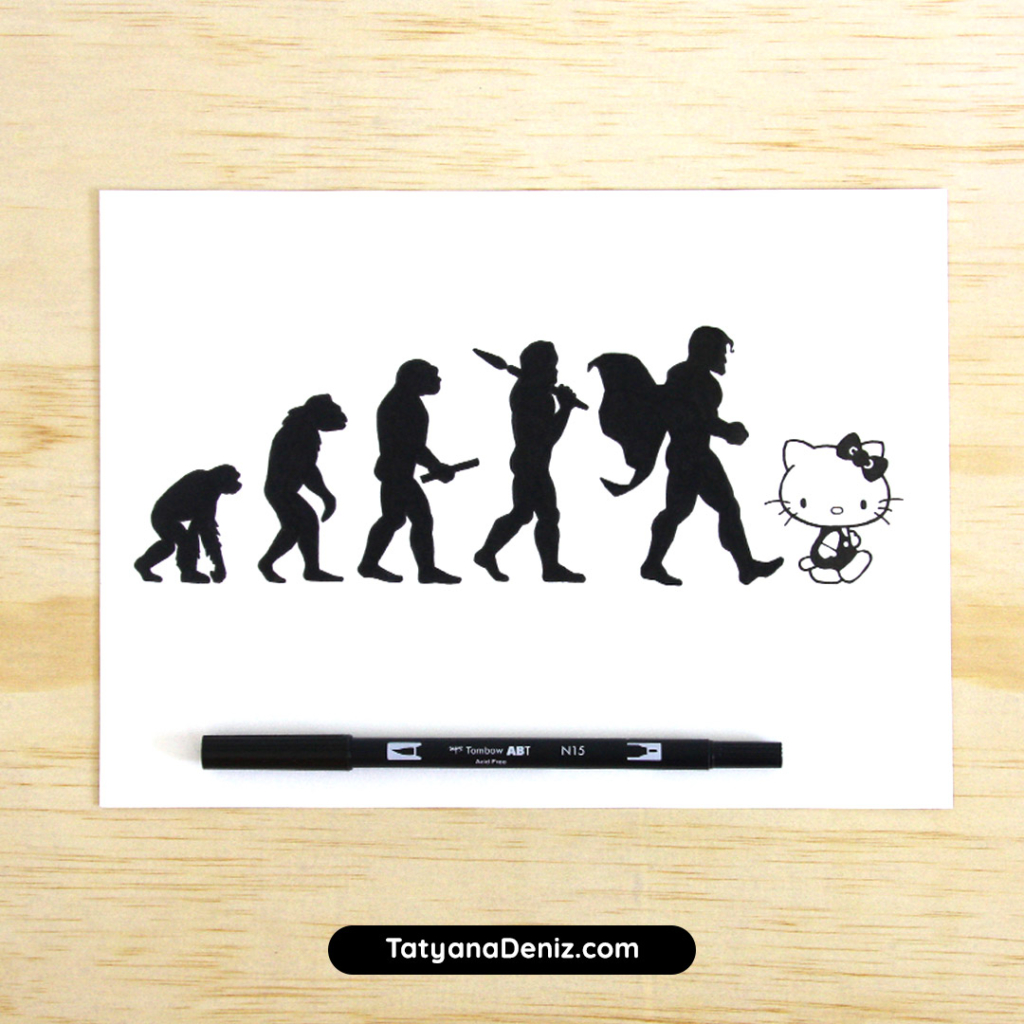
1. Illustrate Chronological Events
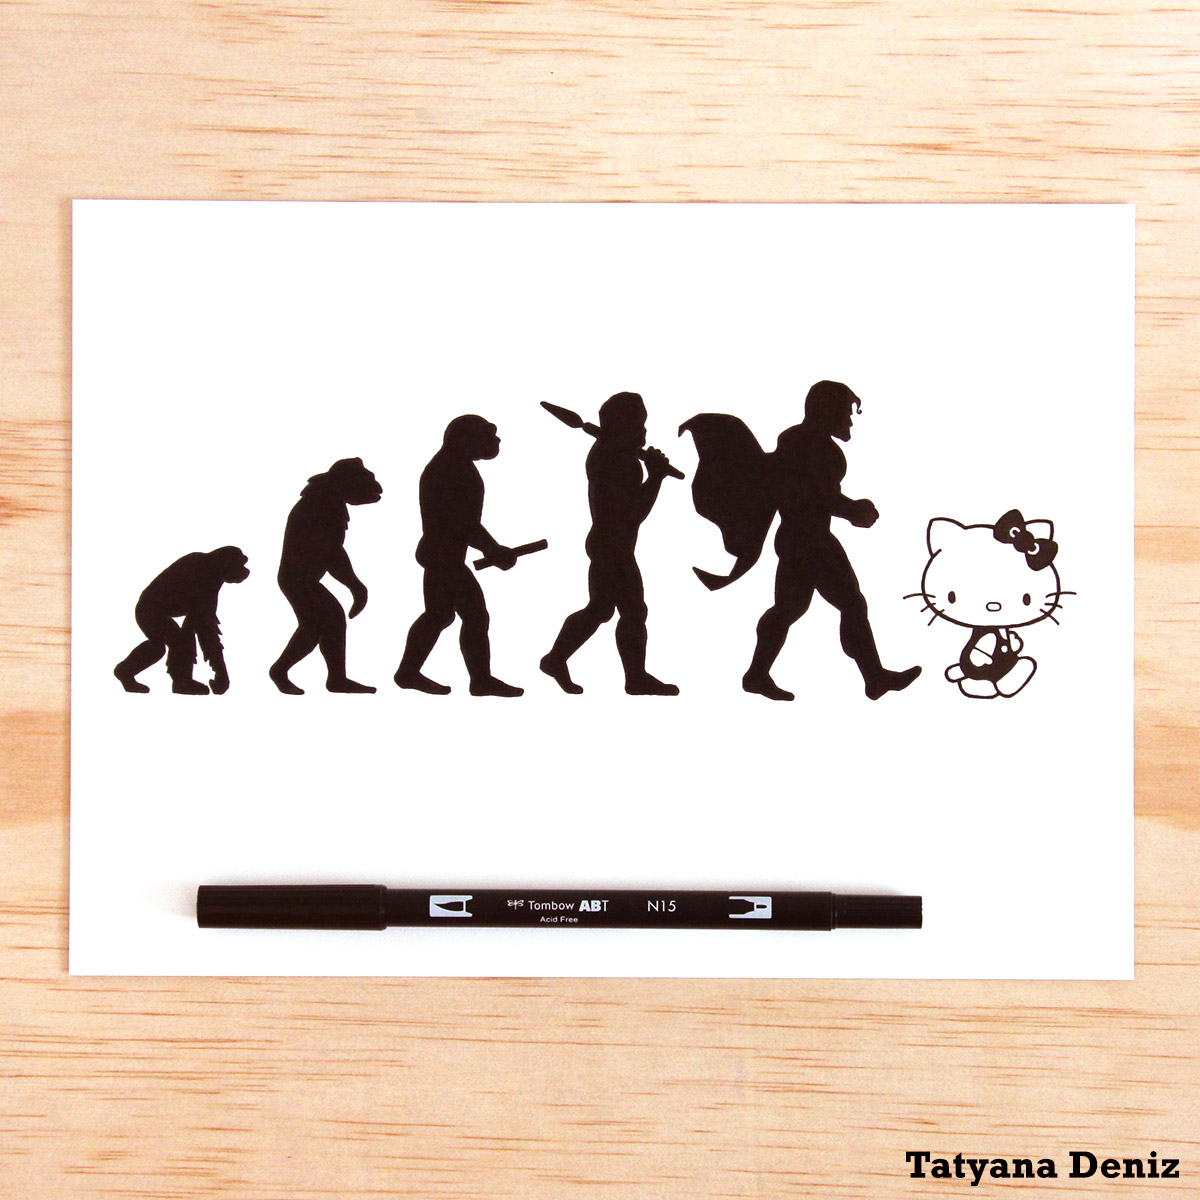
There are many stories that describe events that progress through time, for example evolution of mankind. These stories are well suited to be illustrated with symbols, rather than described in words.
We already know how to read charts and graphs, and our eyes are used to moving from left to right as we “read” the drawing. You can use these existing tendencies to come up with illustrations to be “read” left to right, and show how the character is developing over time.
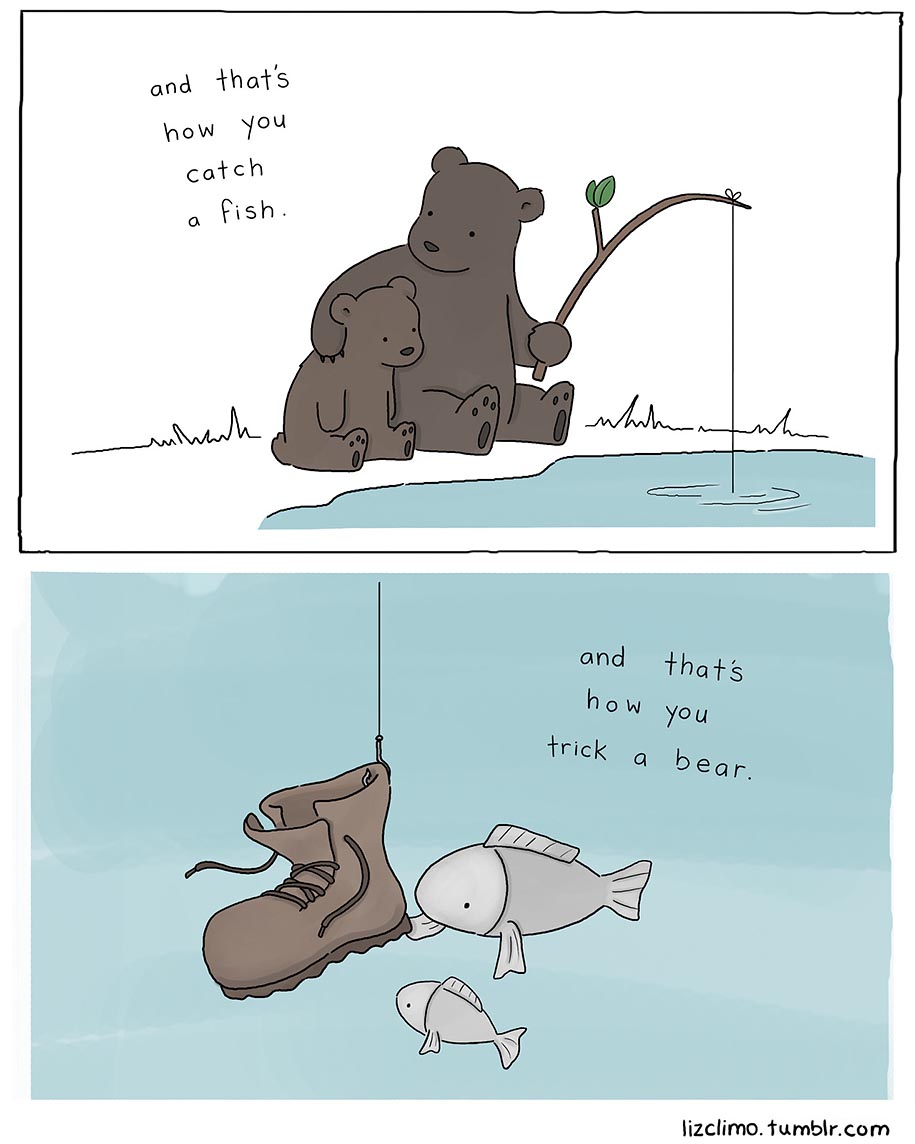
2. Use Comic Format to Tell the Story

These drawings by Liz Climo are so simple. They don’t even have any background objects, just the characters and a couple of words. Yet these 4 panels masterfully tell the story of a Dad playing with his son. Being a parent myself, I can appreciate the accuracy with which Liz narrates the games.
You don’t always have to tell the entire story with one frame. If the story is best told in multiple scenes, then use the comic format to illustrate your narrative.
3. Illustrate a Step-by-Step Process
As we saw with the Ikea manual example above, a well illustrated step-by-step process is so much easier to understand than long descriptions.
A classic example of a step-by-step process is a recipe. We’ve all used one (or cursed at one!).

What makes this illustration so successful is that it delivers the narrative in a clear way that is easy to follow. The recipe feels achievable. I can see at a glance there are only 4 ingredients! As a bonus, it uses humour and it’s beautiful to look at. Win-win-win 🙂
This illustration uses the following narrative devices:
- Arrows
- Text
- Placing relevant items together (like ingredients and toppings)
- Designed as a sequence to be read top to bottom
I showed three examples of topics that work well as illustrated narrative. Can you think of any others? Let me know in the comments!
Materials I Used This Week
This week I continued to use Vellum Surface paper. It very good for doing detailed illustration that will be photographed, because it’s thick, smooth and slightly absorbent. The ink does not float on the surface (as it does with bleed-proof paper), but it soaks into the paper just a little. This creates a smooth solid black finish.
My pen of choice this week is Tombow Dual Brush, black. I used the thin tip to outline the drawing and brush side to fill in the black areas.
I also used a mechanical pencil and my favourite Faber-Castell Dust Free eraser.
Full disclosure: I personally own and use all of these. If you buy anything using my links, Amazon will pay me a small commission (no cost to you – thank you!). But if you normally shop somewhere else, it’s totally ok too.
Drawing Time Diary
Mon, April 10: 15 mins
Tues, April 11: 1.5 hours
Wed, April 12: 30 mins
Thur, April 13: 1 hr 15 mins
Fri, April 14: no drawing
Sat, April 15: no drawing
Sun, April 16: no drawing (blogging)
Total drawing time: 3.5 hours
Next week I will write about evoking emotions with your drawings. Subscribe to my newsletter to get the latest kawaii updates!
This post is Week 22 of my 6-month drawing challenge. Draw with me and track my progress week by week. Thank you so much for reading!! ♥