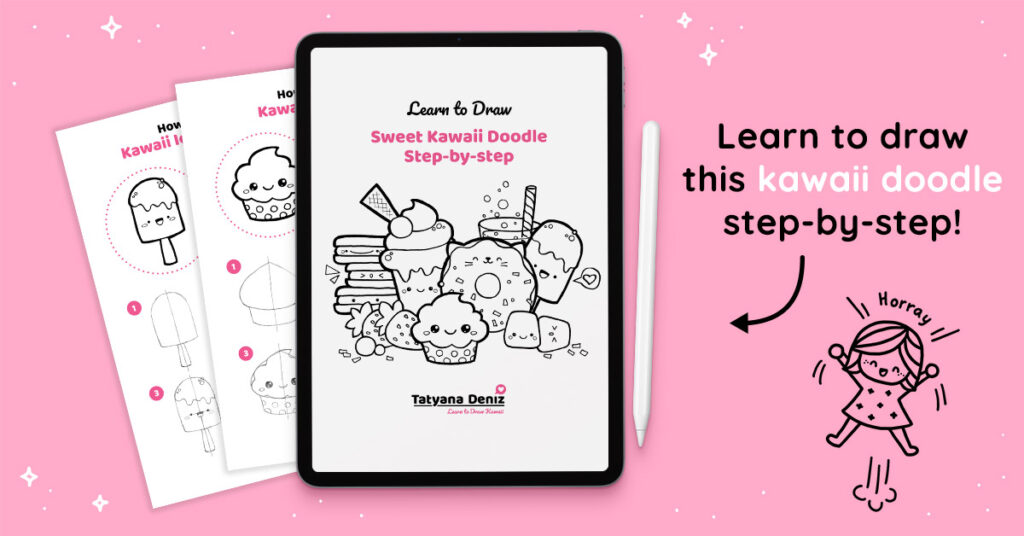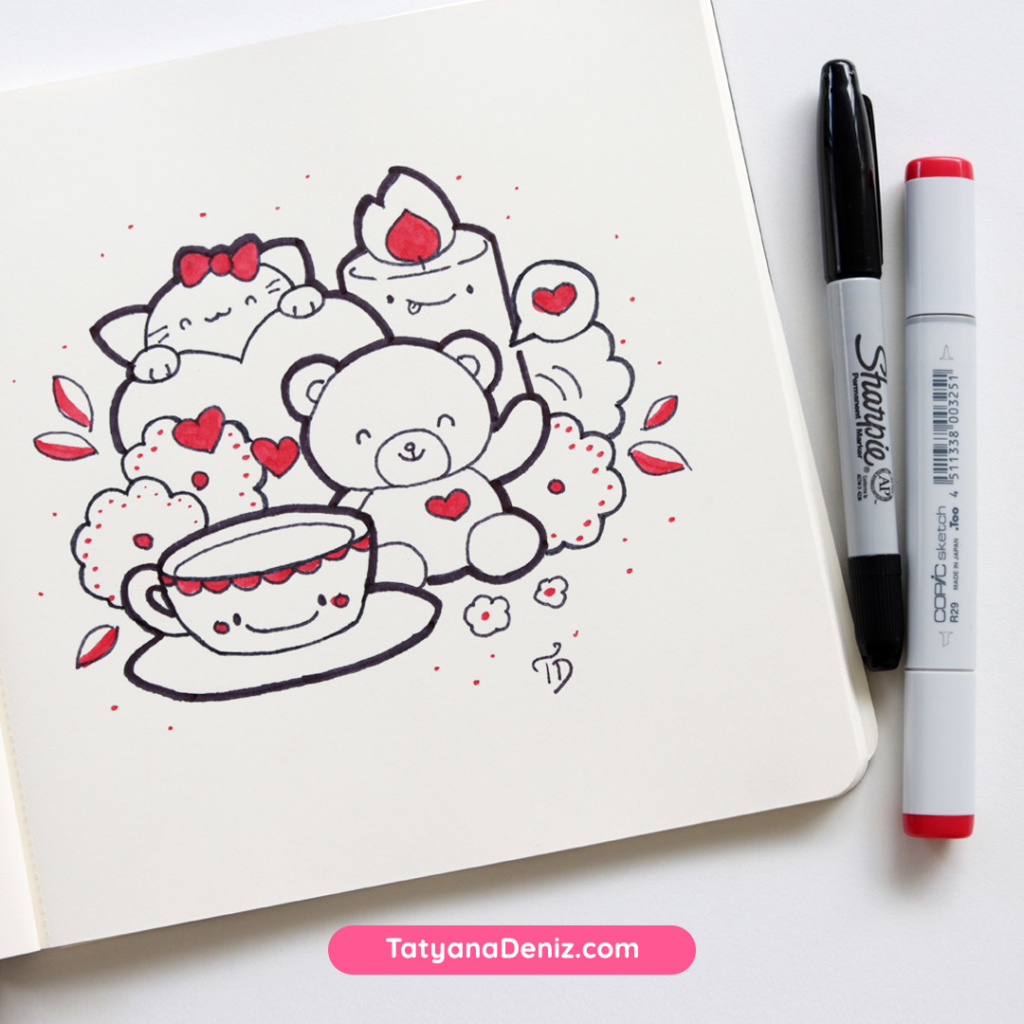
In this video, I show you my complete drawing process, as I draw this kawaii doodle step-by-step. We go from sketch to outlines to color accents. And I show you a nifty double-sided Sharpie in action!
Check it out. You will be mesmerized by the play of lines and curves. And if you like to draw, I promise you that you pick up a few drawing tricks along the way for YOUR drawings.
Specifically, notice how I use 3 kinds of outlines: thin, thick, and then medium thickness to correct and strengthen some of the lines. You can use similar style of outlines in your drawings to give them that unique “kawaii doodle” look.
Please enjoy this video. 🙂
PS: I added some red dots and accents to this doodle to remind me of Russian folk art style. I was born in Russia, so this is very close to my heart.
Art Supplies I Used In This Video
Moleskine Square Sketchbook:
https://amzn.to/4w0PvPO
Faber-Castell 2B Pencil:
https://amzn.to/2SbgwQa
Faber-Castell Kneaded Eraser:
https://amzn.to/31E4MZD
Double Sided Sharpie:
https://amzn.to/2UDNsm0
Red Copic Marker (R29):
https://amzn.to/39xD43x
Full disclosure: I personally own and use all of these. If you buy anything using my links, Amazon will pay me a small commission (no cost to you – thank you!). But if you normally shop somewhere else, it’s totally ok too.
Share This Post
Share your drawing on Instagram and tag @tatyanadeniz or #tatyanadeniz — we would love to see it!
Do you have friends who love to draw? Share this post with them using the links below, so they can see it too. 🙂 Thank you for spreading the good vibes. You made my day!