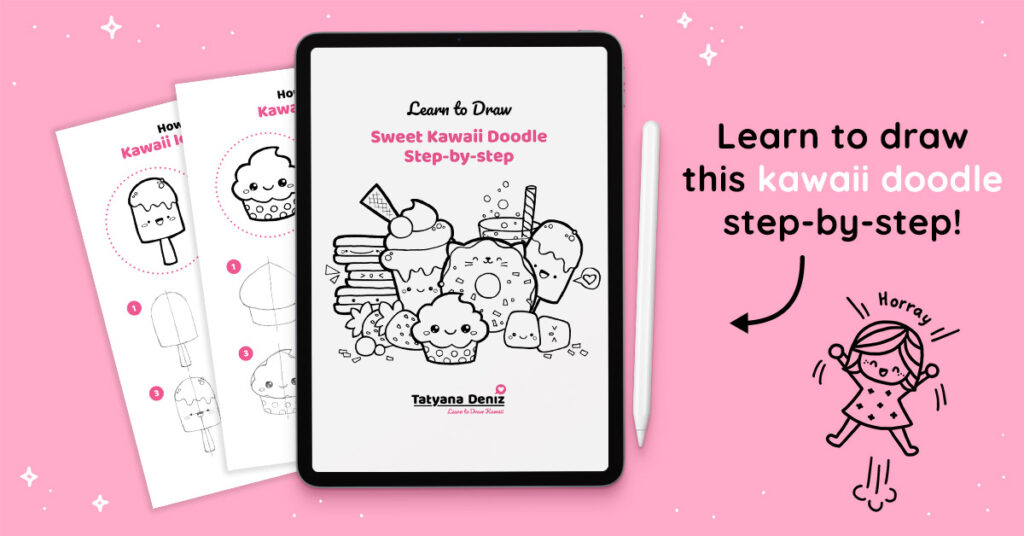
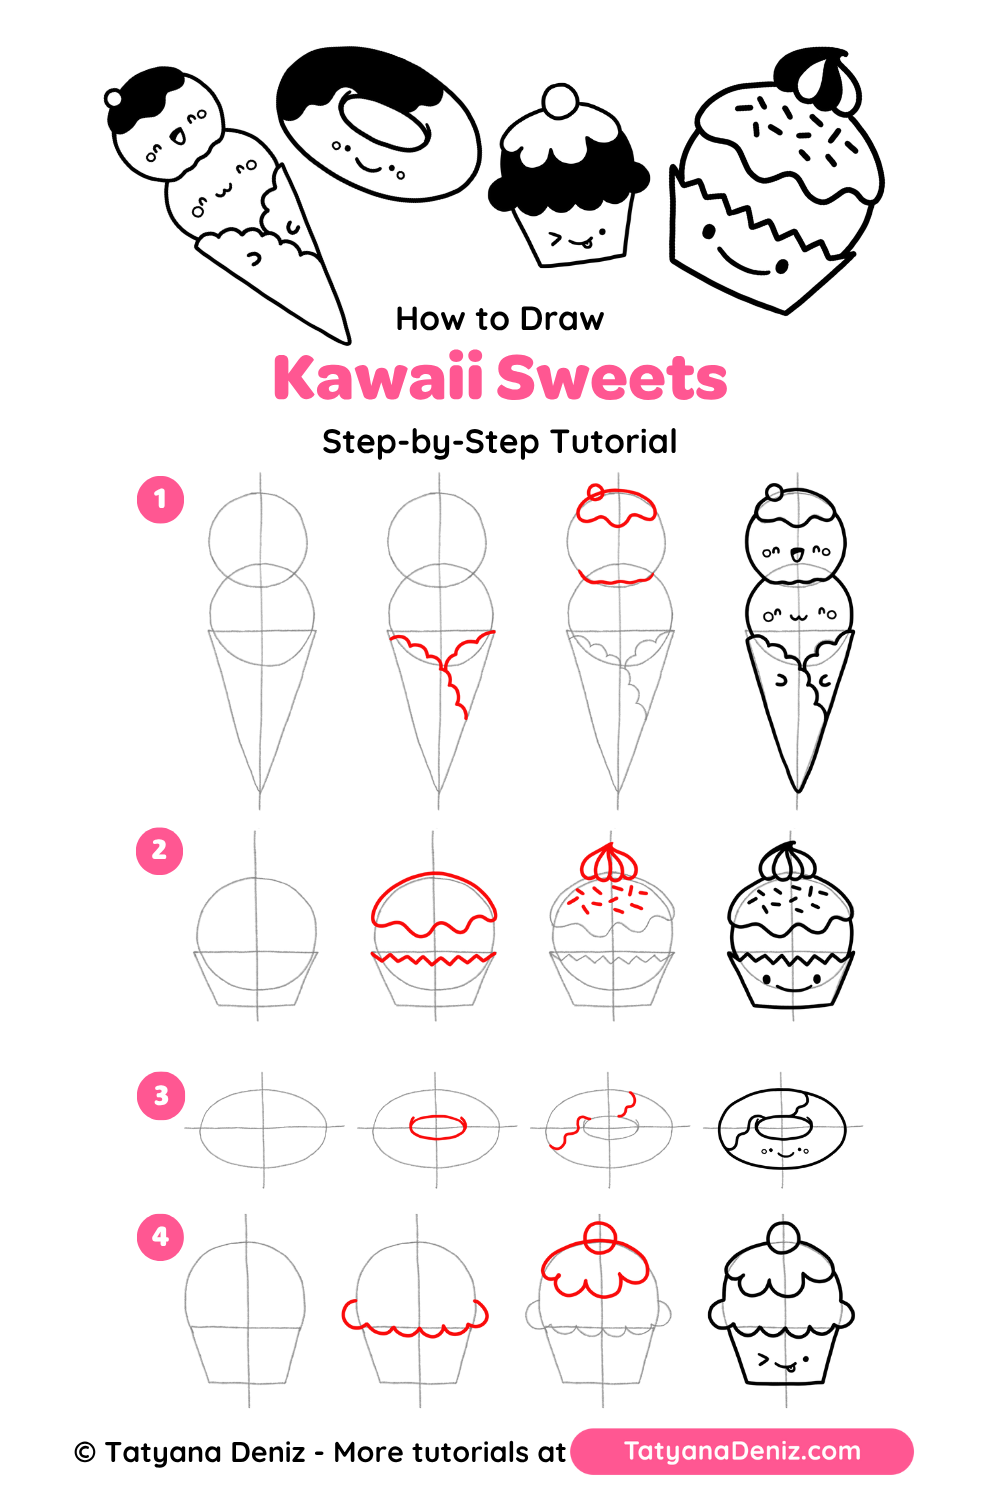
In this tutorial, you’ll learn how to draw kawaii sweets: an ice cream cone, a sprinkle cupcake, a donut and a cherry cupcake, each in 4 easy steps. All you need is a pencil, an eraser and paper. Every treat starts from simple guide shapes, and we add the details one step at a time.
Kawaii sweets are some of my favorite things to draw 🍩. They’re quick, they’re round and squishy, and a tiny face turns each one into a little character.
Draw one, or draw all four and make a whole dessert table for your sketchbook, a birthday card or a notebook cover. Take it 1 step at a time, and they will come out great!
Printable PDF
Please enjoy it for personal use, and please give me credit and link back to this post if you share it with others.
What You’ll Need
- Paper or a sketchbook
- A pencil and an eraser for the guide lines
- A black pen for the final outline
- Colored pencils or markers in a few pastel colors
- Or simply Procreate on your iPad, if you prefer to draw digitally
How to Draw Kawaii Sweets: Step-by-Step
Each sweet has its own row in the tutorial image, with 4 steps per row. The new lines in each step are drawn in red.
1. Kawaii Ice Cream Cone
- Draw the guide shapes. Draw a vertical center line. Sketch two circles stacked on top of each other, with the bottom one overlapping the top of a long, narrow cone.
- Add the wafer wrapper. Draw a wavy, scalloped line across the top of the cone, then a second wavy line running diagonally down the cone, like a folded paper wrapper.
- Add the drips and the cherry. Draw a melty, wavy edge on the top scoop with a tiny circle on top for the cherry. Add a soft wavy line under the top scoop where it sits on the bottom one.
- Outline and add faces. Ink the final lines and erase the guides. Give each scoop its own little face: happy closed eyes on one and an open smile on the other.
2. Kawaii Sprinkle Cupcake
- Draw the guide shapes. Sketch a big circle for the top, with a wide, short trapezoid underneath for the cupcake case. Add a vertical and a horizontal guide line.
- Add the icing and the case edge. Draw a rounded dome on top with a drippy, wavy icing edge below it. Then draw a zigzag line along the top of the case.
- Add the cream swirl and sprinkles. Draw a little swirl of whipped cream on top and scatter short sprinkle lines over the icing.
- Outline and add a face. Ink the final lines, erase the guides and draw a happy face on the case, just under the zigzag.
3. Kawaii Donut
- Draw the guide shape. Sketch a wide oval with a horizontal and a vertical guide line through the middle.
- Add the hole. Draw a small oval right in the center for the hole.
- Add the icing. Draw a wavy line around the donut for the edge of the icing. Let it dip and curl a little so it looks melty.
- Outline and add a face. Ink the final lines, erase the guides and add a tiny face under the hole with two small circles for blush.
4. Kawaii Cherry Cupcake
- Draw the guide shapes. Sketch a tall dome for the frosting on top of a trapezoid for the wrapper, with a vertical and a horizontal guide line.
- Draw the frosting rim. Add a scalloped edge where the frosting meets the wrapper, letting it bulge out a little past the sides.
- Add the drips and the cherry. Draw a drippy, scalloped layer of frosting near the top and a circle on top for the cherry.
- Outline and add a face. Ink the final lines, erase the guides and draw a cheeky face on the wrapper: a wink and a little tongue sticking out.
Tips for Cute Kawaii Sweets
- Guide shapes first. Every sweet starts with simple circles, ovals or a cone. Get those right before you add any drips or sprinkles.
- Keep the faces small and low. Tiny eyes and a small mouth placed low on the treat look the cutest.
- Give each one a personality. Closed happy eyes, a wink or a tongue sticking out make every sweet feel different.
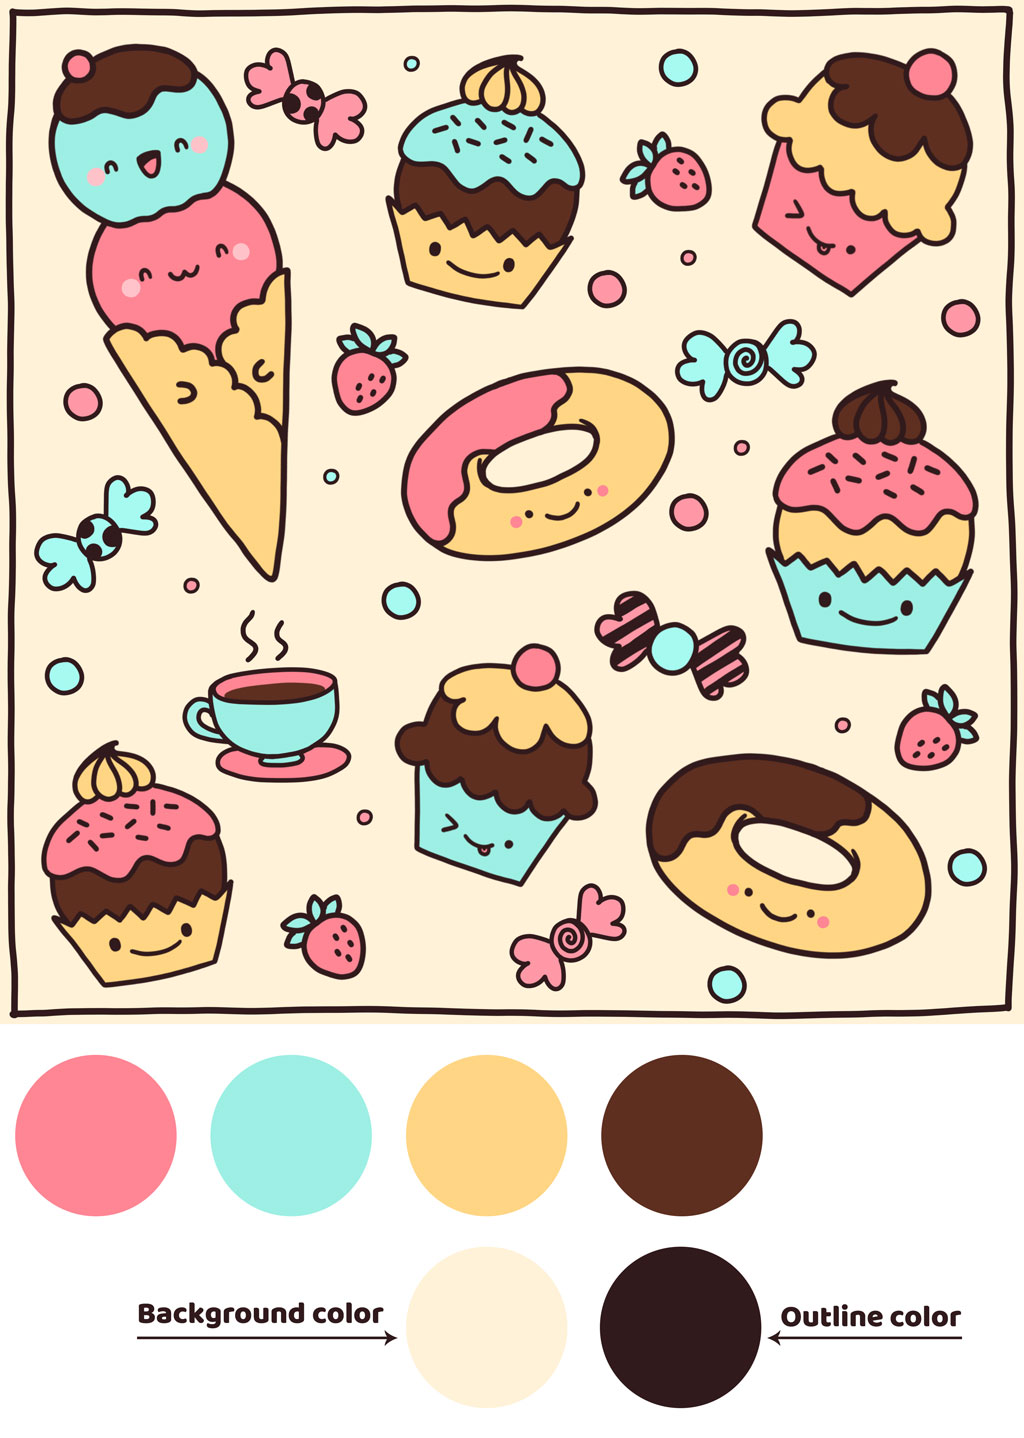
- Use a small color palette. Pink, mint, butter yellow and chocolate brown with a dark brown outline make the whole set look like it belongs together.
- Turn them into a pattern. Mix all four sweets on one page and fill the gaps with strawberries, candies and little dots.
Frequently Asked Questions
Yes, it’s made for beginners. Each sweet takes just 4 steps and starts from simple shapes like circles, ovals and a cone. It’s also a fun one to draw with kids.
Start with the donut. It’s only an oval, a small hole and a wavy icing line, so it’s the quickest win. Then try the cupcakes, and save the ice cream cone for last.
A pencil, an eraser and paper are all you need. A black pen helps for the final outline. Then color them with colored pencils, markers or Procreate on your iPad.
Keep the shapes soft and round, and place a tiny face low on each treat. Little details like blush, a wink or a tongue sticking out give each one its own personality.
A small pastel palette works beautifully: pink, mint, butter yellow and chocolate brown. Reusing the same few colors on every treat keeps them looking like a set.
Mix them on one page to make a cute pattern, or use one on a birthday card or a notebook cover. Add strawberries, candies and little dots to fill the gaps.
If you loved drawing these sweets, you’re ready to create your very own kawaii characters 😊. My 21 Day Challenge guides you there in about 15 minutes a day, even if you’re a complete beginner.
More “How to Draw Kawaii” Tutorials
If you enjoyed this tutorial, you will also love:
- How to Draw a Kawaii Watercolor Cupcake: Easy Step-by-Step Tutorial
- How to Draw a Super Cute Cupcake: Step-by-Step Drawing Tutorial
- How to Draw a Cute Cartoon Popsicle with a Face Step-by-step
- How to Draw Kawaii Sushi Temaki: Step-by-step Drawing Tutorial with Video
- FREE Coloring Page with Kawaii Food Doodle
Share the Love
Share your drawing on Instagram and tag @tatyanadeniz or #tatyanadeniz. I would love to see it!
Spread the sugar rush by sharing this tutorial with your friends using the buttons below 👇. Let’s keep the creativity flowing and the cute treats coming!