
I’ve come to love hand lettering, and to realise its power.
A lettering design is a direct message, but it’s also a drawing – an artwork of its own.
My current goal is to learn kawaii drawings, but I know I will be doing a lot more hand lettering and incorporating letters into my kawaii designs :).
This is Week 11 of my 6-month kawaii drawings challenge. Use this link to track my drawing progress week by week.
Three Fonts to Practice Hand Lettering
In my previous post I looked at successful examples of hand lettering, and shared a book called The Complete Book of Chalk Lettering, which I found super helpful for learning.
This week I am putting my pen skills to practice by hand lettering three typical fonts: sans serif (retro style), script and slab serif.
But first I had to learn some basic typography terms. I won’t include them here, since they are beautifully and clearly illustrated in this article from Canva Design School.
Now, let’s draw!
1. Park Lane: a sans serif font in retro style

First is a free font called Park Lane, from DaFont website. It seemed like a good idea to start with a simple sans serif type. Notice the very low crossbar height of A, and very high crossbars of E, F and H.
To draw this font I used a black Sakura Graphic pen, size 1. It’s thick enough to produce a strong even line. Sometimes I went over the letters a couple of times to correct them, but the idea is to get the letter done in one pass.
2. Script font
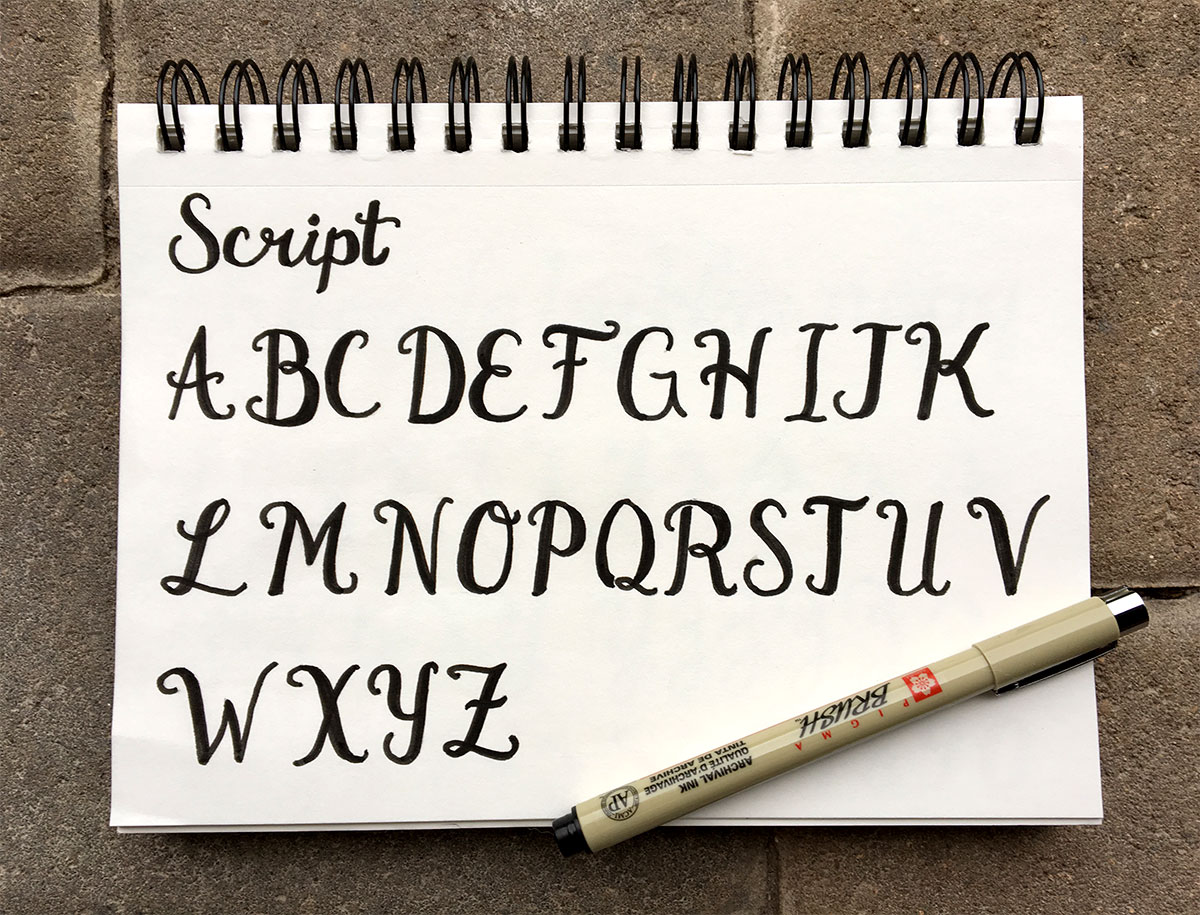
This is a script font from Valerie McKeehans’s book The Complete Book of Chalk Lettering. I don’t know what font it is (if any), but it appears in her designs over and over. It’s very pretty, especially with effects like shadow or double-stroke.
The key to script font is to make down strokes thick, while keeping up strokes and ends thin.
For drawing the script font I used a black Sakura Brush Pen.
3. Rockwell: a classic slab serif font

This is slab serif font called Rockwell. It’s a strong and stable font, it feels comfortable to the eye.
To draw this font, I used black Sakura Graphic pens, size 1, 2, 3. I first traced it with a round size 1 pen, followed by thicker sizes 2 and 3, shaped like a chisel.
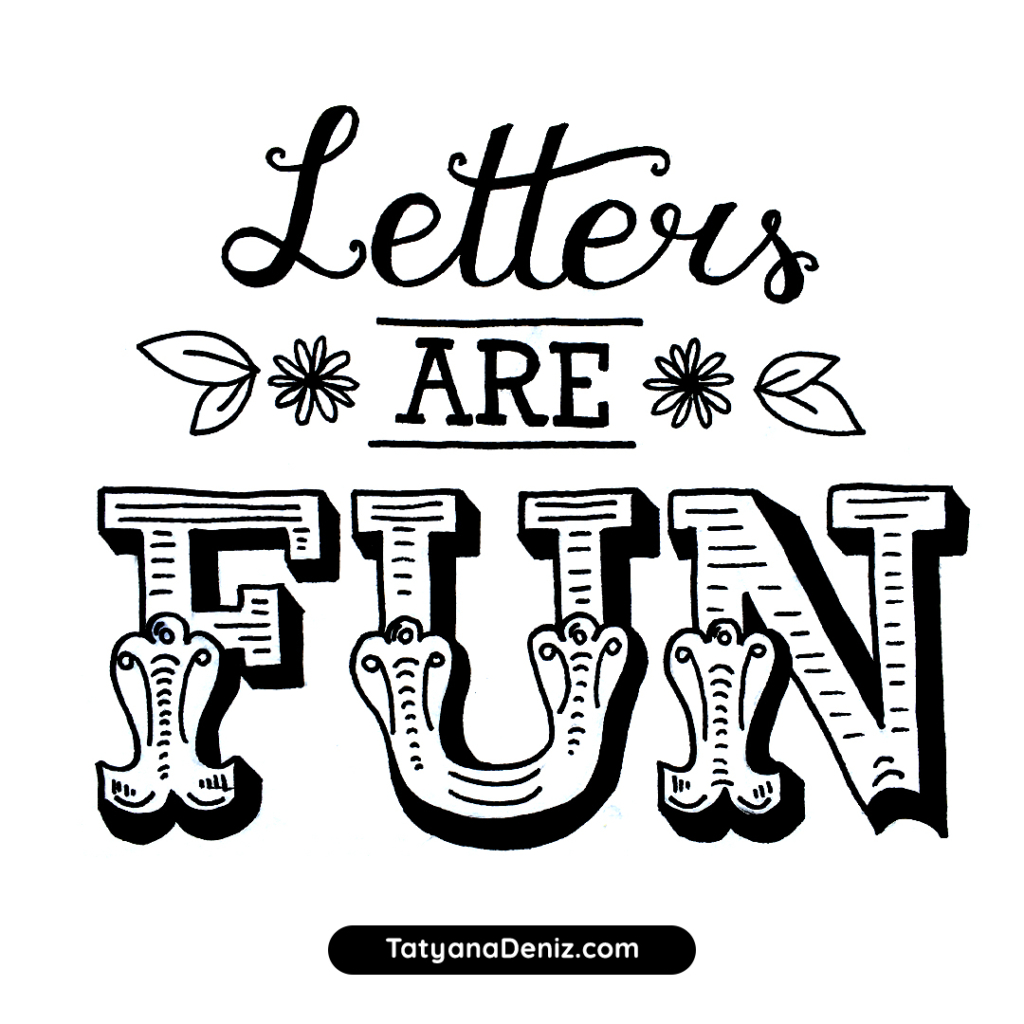
My First Lettering Design
Alas, it’s time to stop copying and start designing! It’s a scary prospect, but it has to be done ;). I decided that at this point I have enough theory to create my own lettering design. What do you think?

I got most of the skills required to create this design from the The Complete Book of Chalk Lettering book. I am really enjoying it :).
Next up are some lettering tips on what I learned over the past two weeks.
Full disclosure: I personally own and use all of these. If you buy anything using my links, Amazon will pay me a small commission (no cost to you – thank you!). But if you normally shop somewhere else, it’s totally ok too.
How to Make Lettering Designs Interesting
- When positioning the word on the line, count the number of letters in the word. Then figure out which is the middle letter, and draw that letter first. Draw other letters around it. This way the word will be centred and none of the letters would get squished.
- Play with the angle and shape of the base line. You can shape the bottom of the word like an arch, or curve the whole word. You can also place the word on a wave-like baseline.
- Move the crossbar/cross-stroke of the letter up or down to achieve different letter styles
- Add decorations to the serifs. They don’t have to be just little straight lines!
- Anchor less important (smaller) words by adding flowers or flourishes to it
- Flourishes are your friends! If they suit the design, flourishes are a gorgeous way to add personality and coherence to a design. Flourishes can fill empty spaces too. Other places to add flourishes are:
- entry and exit points of the word
- above or below the word
- cross-strokes of letters such as t, tt, and f
- crossbars of capitals such as A and H
- ascenders and descenders of y, g, k, b etc
- serifs can extend into flourishes too 🙂
- For calligraphic style, thicken down strokes and keep up strokes thin
- For 1950’s effect, angle the base line
- For retro style (1930’s), use low crossbar height for letters such as A, E, R
Hand Lettering Tips
- If you are new to lettering, practice straight stokes on graph paper
- When using shadows or 3D effects on the letters, leave more space between the letters to prevent letters from overlapping
- What makes letters look like they belong to the same style is consistency of letter shapes and widths. For example, the letter O of the Rockwell font above looks almost like a circle. Therefore, letters G and Q look like circles too.
- With lettering, there are no shortcuts. What makes perfect letters is practice (pun intended).
- If all else fails, or if you need to create a design in a hurry, you can just create it on a computer using a font and print it out. Then trace it onto the hand lettering surface (paper, blackboard etc) and colour it in!
Drawing Time Diary
Monday, Jan 23: 1 h 30 mins
Tuesday, Jan 24: no drawing
Wednesday, Jan 25: 1 h 15 mins
Thursday, Jan 26: 1 h 15 mins
Friday, Jan 27: two sessions, 40 mins + 1 h 40 mins
Saturday, Jan 28: 40 mins
Sunday, Jan 29: no drawing
Total drawing time: 7 hours (woo hoo!)
Read all about my 6-month drawing challenge and track my drawing progress week by week.
Do you find this project interesting? Share it with your friends! ♥
Join Our Facebook Group
Come be part of our cheerful Facebook group where kawaii art lovers share ideas, swap inspiration, and connect with fellow creatives. Let’s make something cute together!
Share the Love
Pass the cuteness along by sharing this tutorial with your fellow kawaii fans using the buttons below 👇 Let’s keep the creativity flowing and the adorable vibes alive!