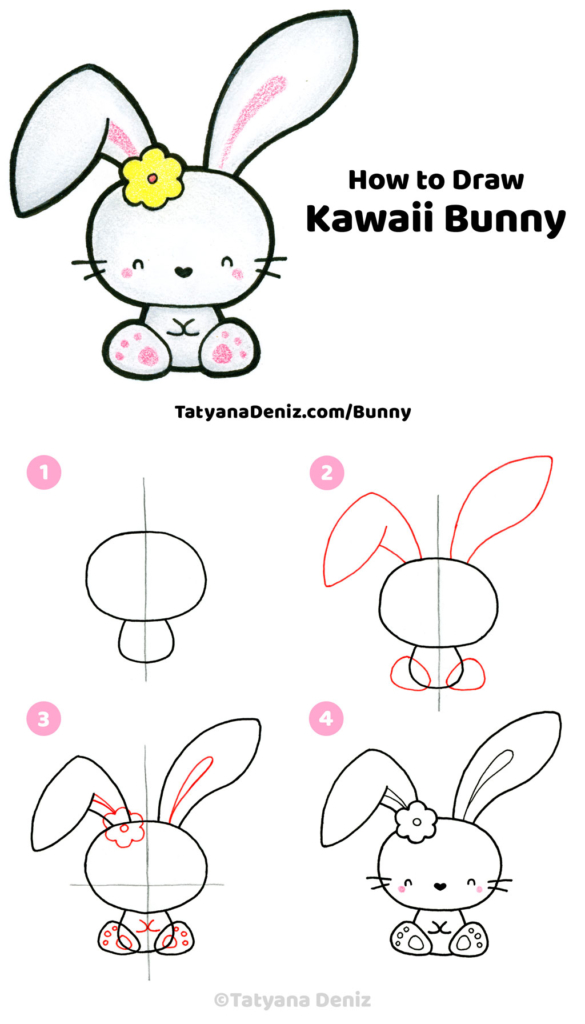
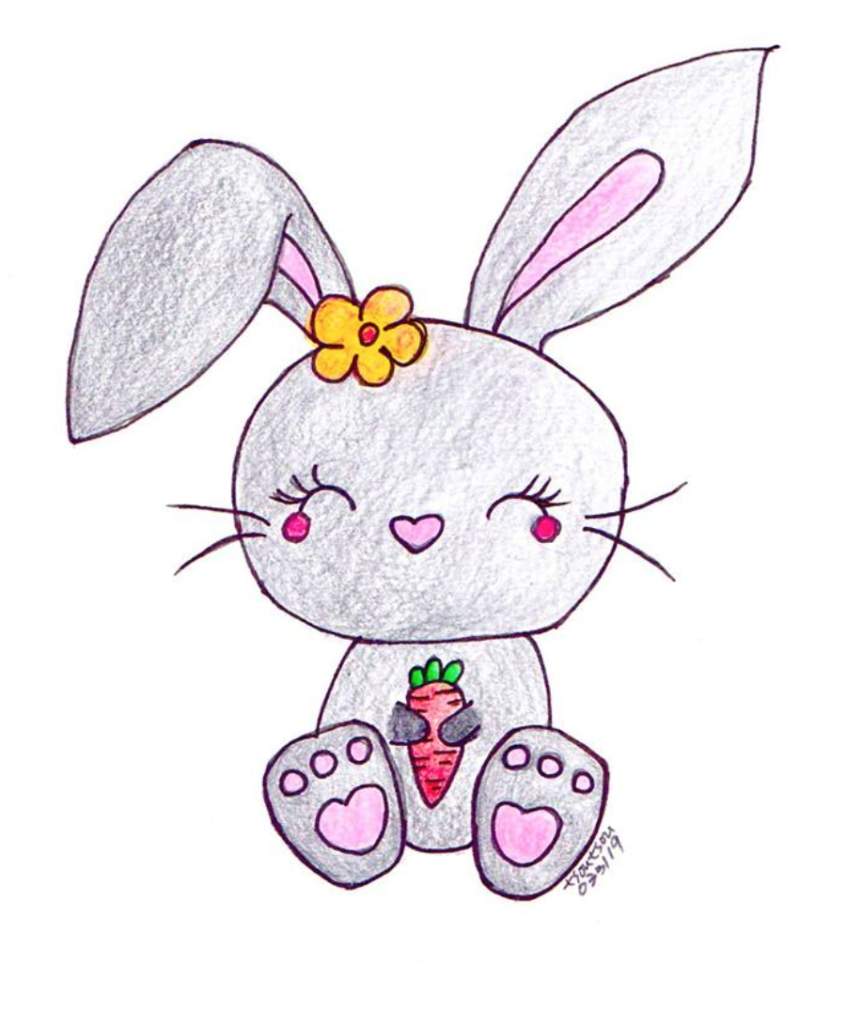
Let’s draw a cute Easter bunny step by step. This kawaii bunny is very easy to draw. Think of the feet as two simple ovals and the hands are just 2 U shapes. Done!
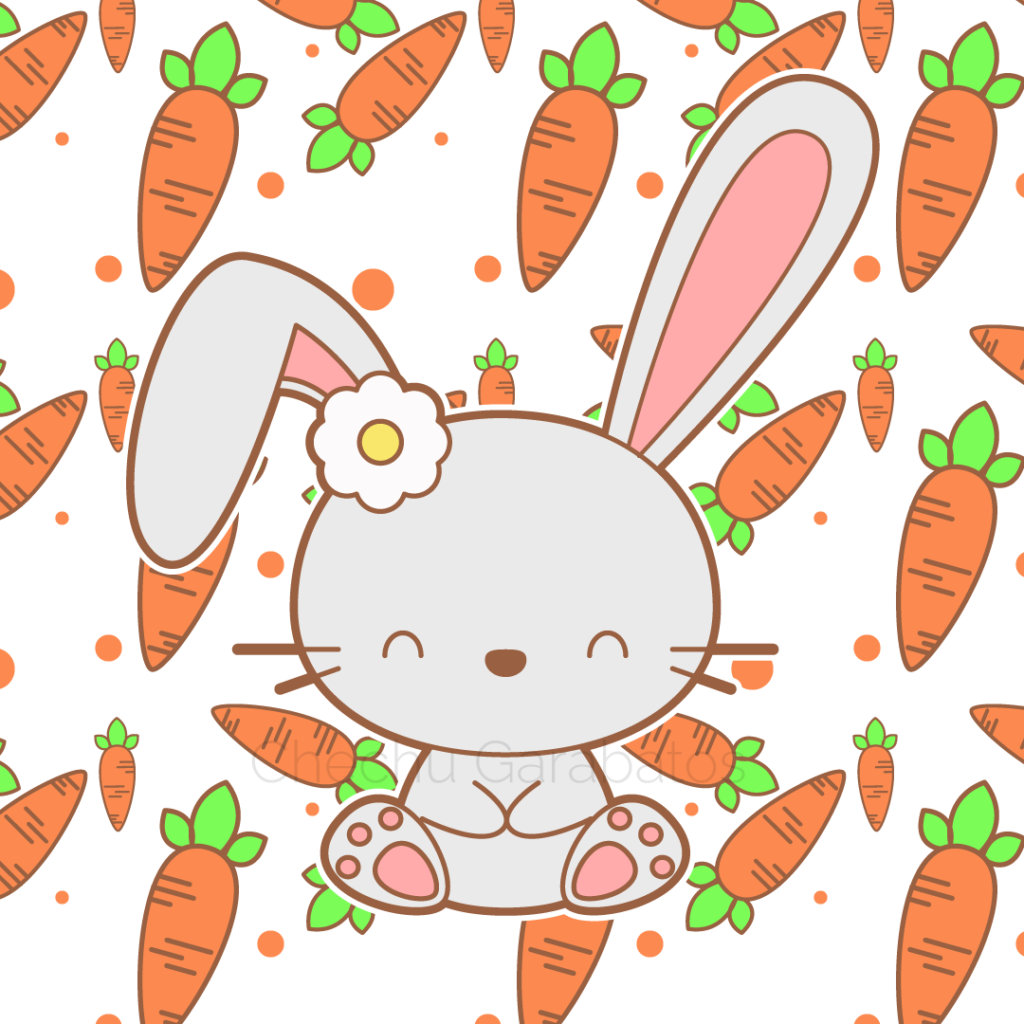
This design is fun and versatile. You can use it for your DIY greeting card and Easter crafts. Or as a fun drawing project with kids.
Please share your drawing of this bunny and things you make with this design in our private Facebook group. We would love to see it!
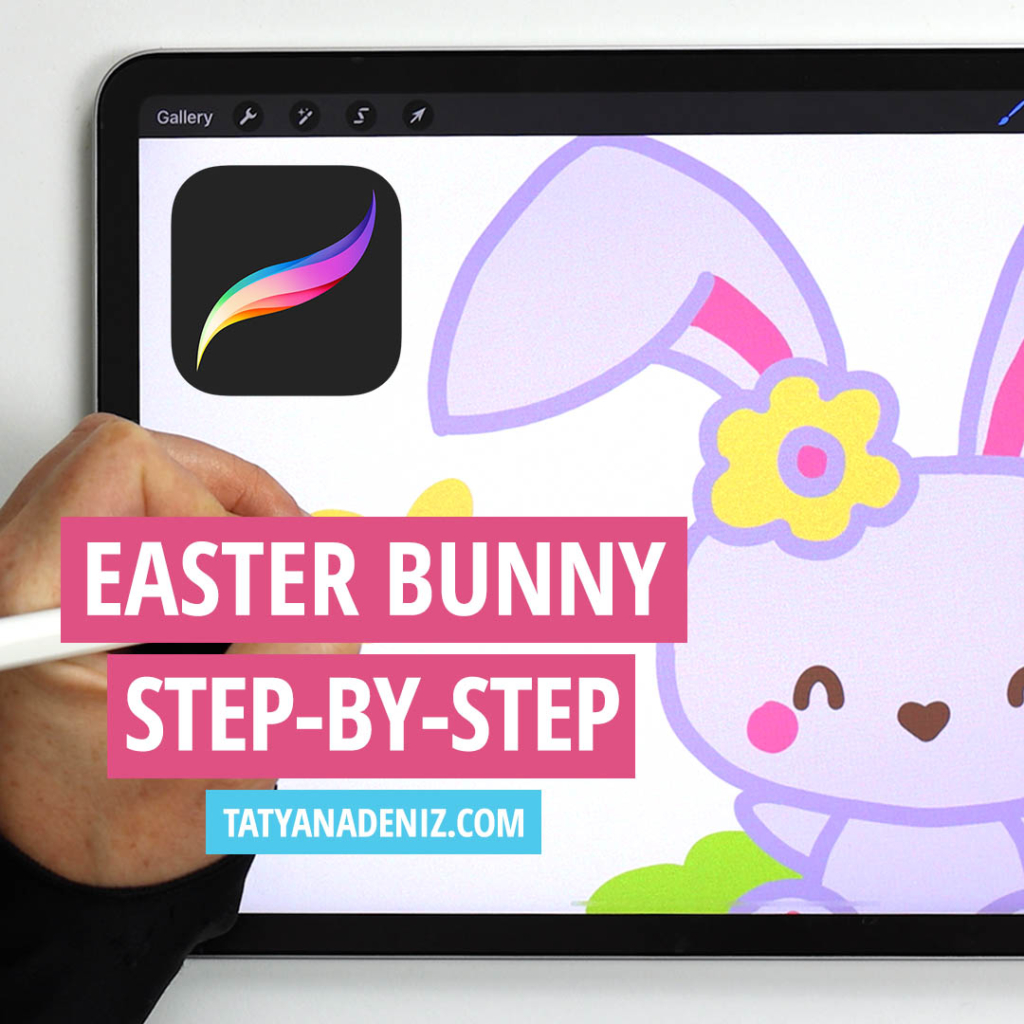
Step-by-step Video Tutorial in Procreate
Get This Bunny Design on a T-shirt!
As I was making the video tutorial, I fell in love with this design. 🙂 So I decided to make into a t-shirt design that’s available for purchase from Amazon. You can get matching Easter Bunny t-shirts for the whole family! And support an independent artist. Thank you so much!

👉 CLICK HERE to check out these bunny t-shirts on Amazon.com 👈
Step-by-step Cute Easter Bunny Drawing Tutorial
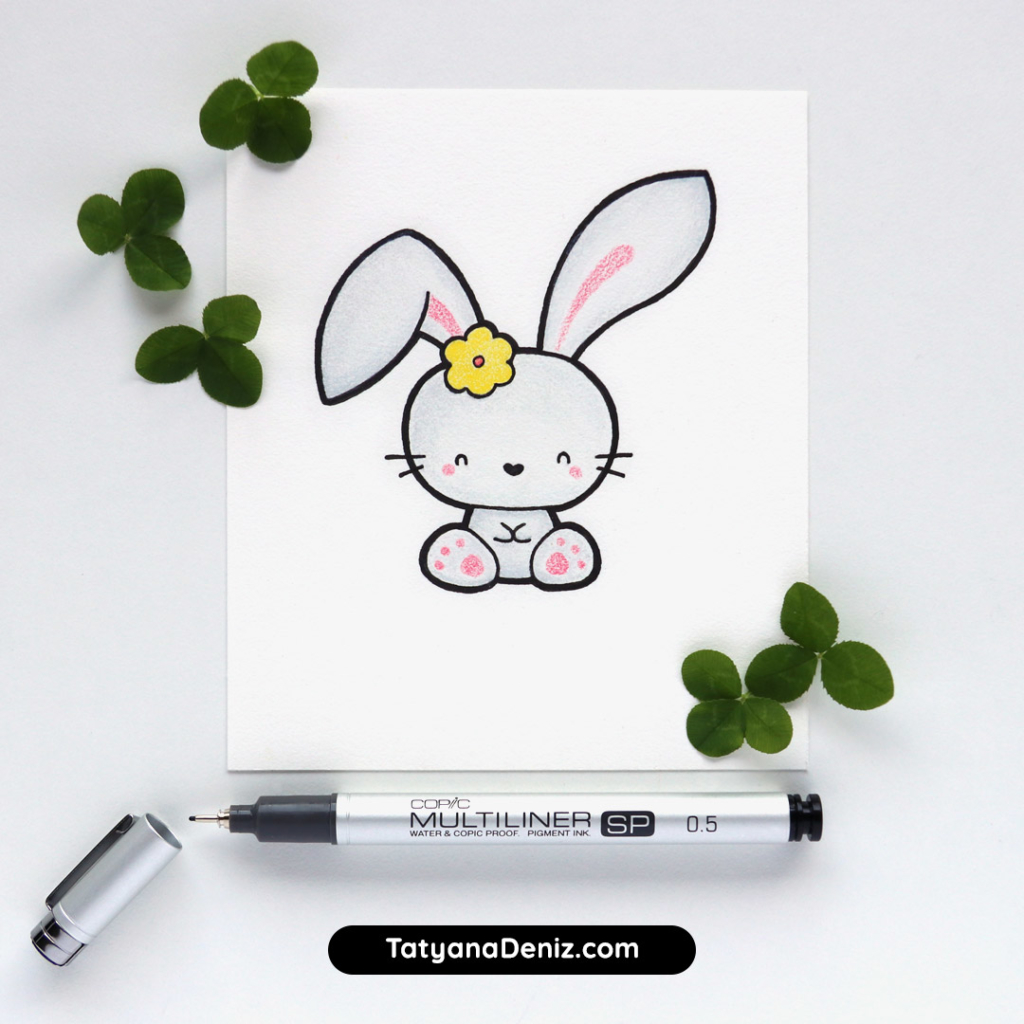
Here is the step-by-step tutorial. I made this drawing using a black felt-tip pen, and colored it with colored pencils (see materials list below). I like the slight texture created by the pencils. It makes the bunny look furry and fluffy.
If you want to save this tutorial for later, use the red “Pin It” button to save it to Pinterest, or download a printable PDF below. I hope you have fun drawing this cute bunny!
👉 CLICK HERE to Pin This Tutorial 👈
👉 CLICK HERE to Pin This Tutorial 👈
Materials I Used
- Prismacolor Premier colored pencils
- Pink PC929
- 20% Cool Grey PC1060
- Canary Yellow PC916
- White PC938 (for blending)
- Bristol vellum surface paper
- Copic Multiliner black pen, 0.7mm
- Pencil and eraser
Full disclosure: I personally own and use all of these. If you buy anything using my links, Amazon will pay me a small commission (no cost to you – thank you!). But if you normally shop somewhere else, it’s totally ok too.
Printable PDF
Click here to download a FREE printable PDF of this tutorial
Please enjoy this drawing and tutorial for personal use, and remember to give me credit and link back to this post if you share it with others.
Drawing Tips
- Start with bigger shapes, like the head and the body. Then add smaller and smaller details, like the ears, hands and feet. Finally, add the little decorative elements, like the flower and paws, at the very end.
- Use guide lines to help you make your bunny symmetrical (same on the left and on the right side). Also, use a guide line to position the face (see Step 3).
- If you want to leave the bunny white (I used a light grey pencil), you can make the background darker. Or you can use white paint on a colored paper. Sounds like so much fun!
- Use your bunny for a craft project. For example, you can make a cute handmade Easter card, create paper crafts, or draw it with your kids. I’ll post a few DIY and craft I ideas in a gallery below. 🙂
My Inspiration for This Drawing
When Easter is near, bunnies are on everyone’s mind. I wanted to do a bunny tutorial, since I received SO MANY requests for it from my readers. This is something you can use for your Easter craft projects!
Here is a fun fact. I live in Australia, where bunnies (no matter how cute!) are considered a pest.
So in Australia the symbol for Easter is a bilby. Bilby is an Australian animal, like a bunny, but with larger and more pointed ears. So I made my bunny drawing a little like a bilby. See the big pointy ears?
Here is what a real bilby looks like. Still cute!!

There are even chocolate Easter bilbies at the grocery store (instead of chocolate bunnies). Amazing!
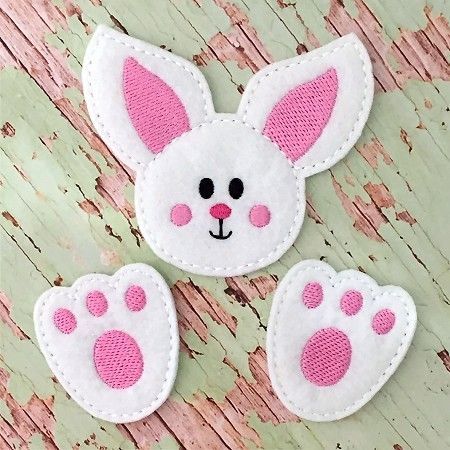
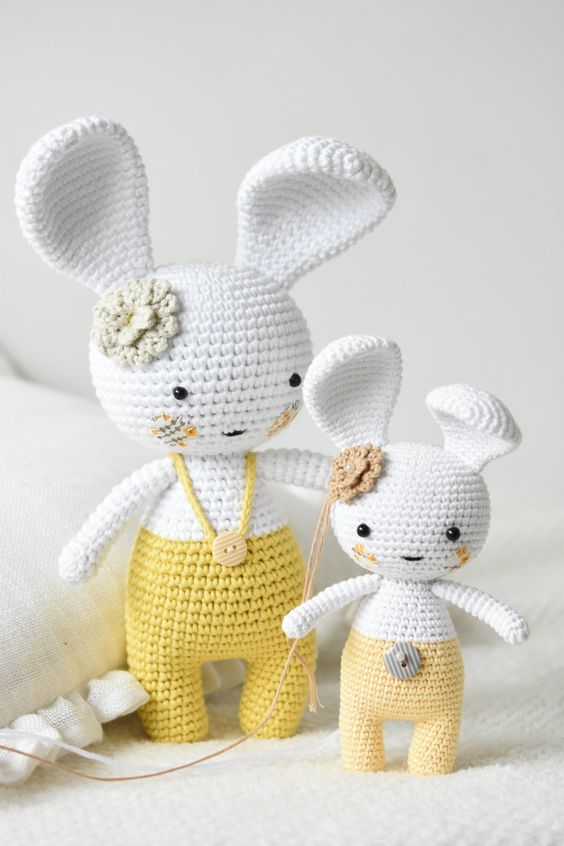
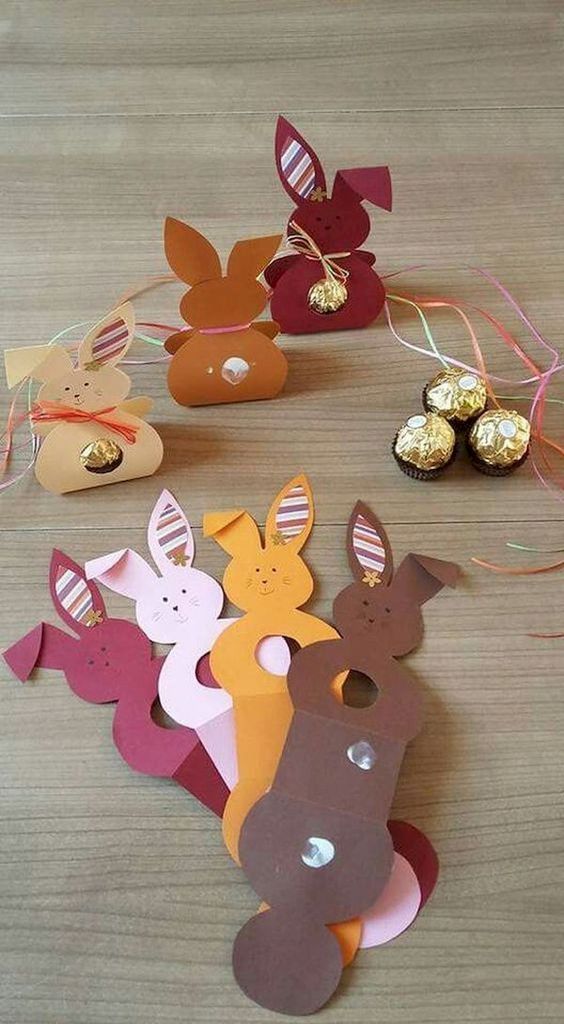
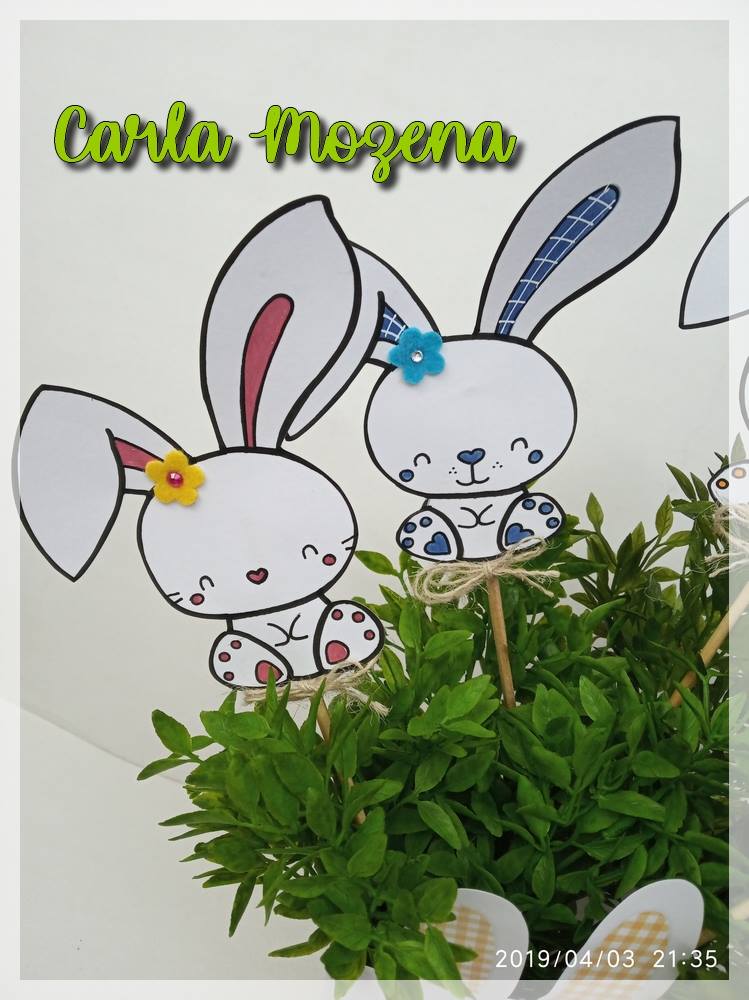
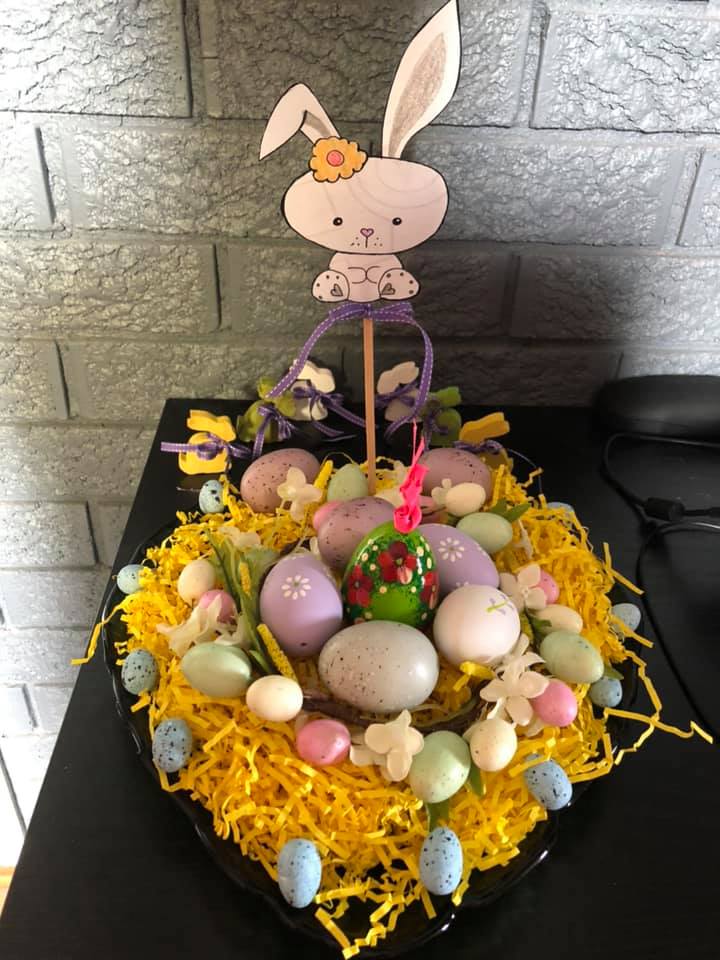
DIY and Craft Ideas
Here are a few ideas (from the internet) for easy and fun craft projects you can do using a bunny design.


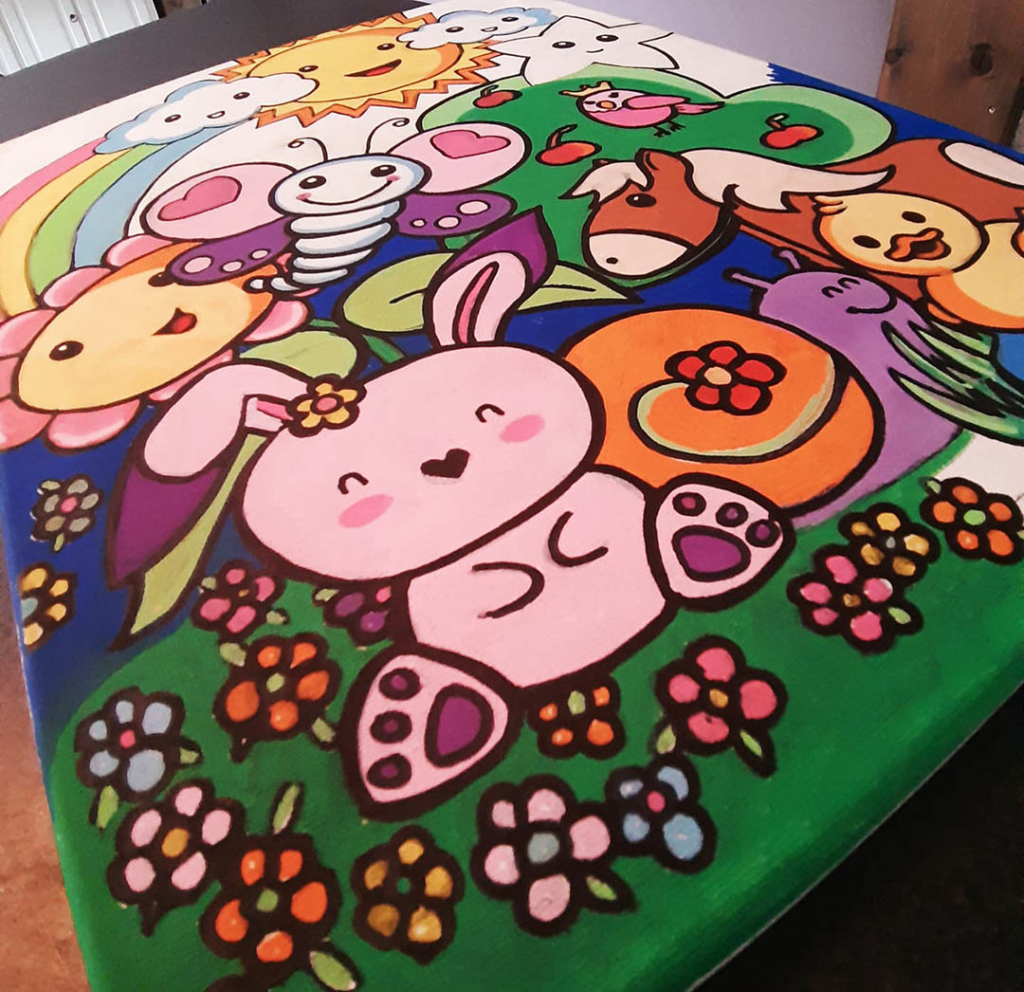
Student Gallery
Here are some of the drawings from our private Facebook group. 🙂 Join the group to get YOUR drawings seen by thousands of people!


Share the Love
Join our gorgeous kawaii drawing community by joining our private Facebook group. And post your drawings on Instagram @tatyanadeniz or #tatyanadeniz so I can find you.
Also, please share this tutorial with your friends using the buttons below. Let’s create together! ♥
Happy drawing,