Follow this easy step-by-step tutorial to draw kawaii Sanrio Keroppi, with clear instructions that will guide you through each part from start to finish 😊
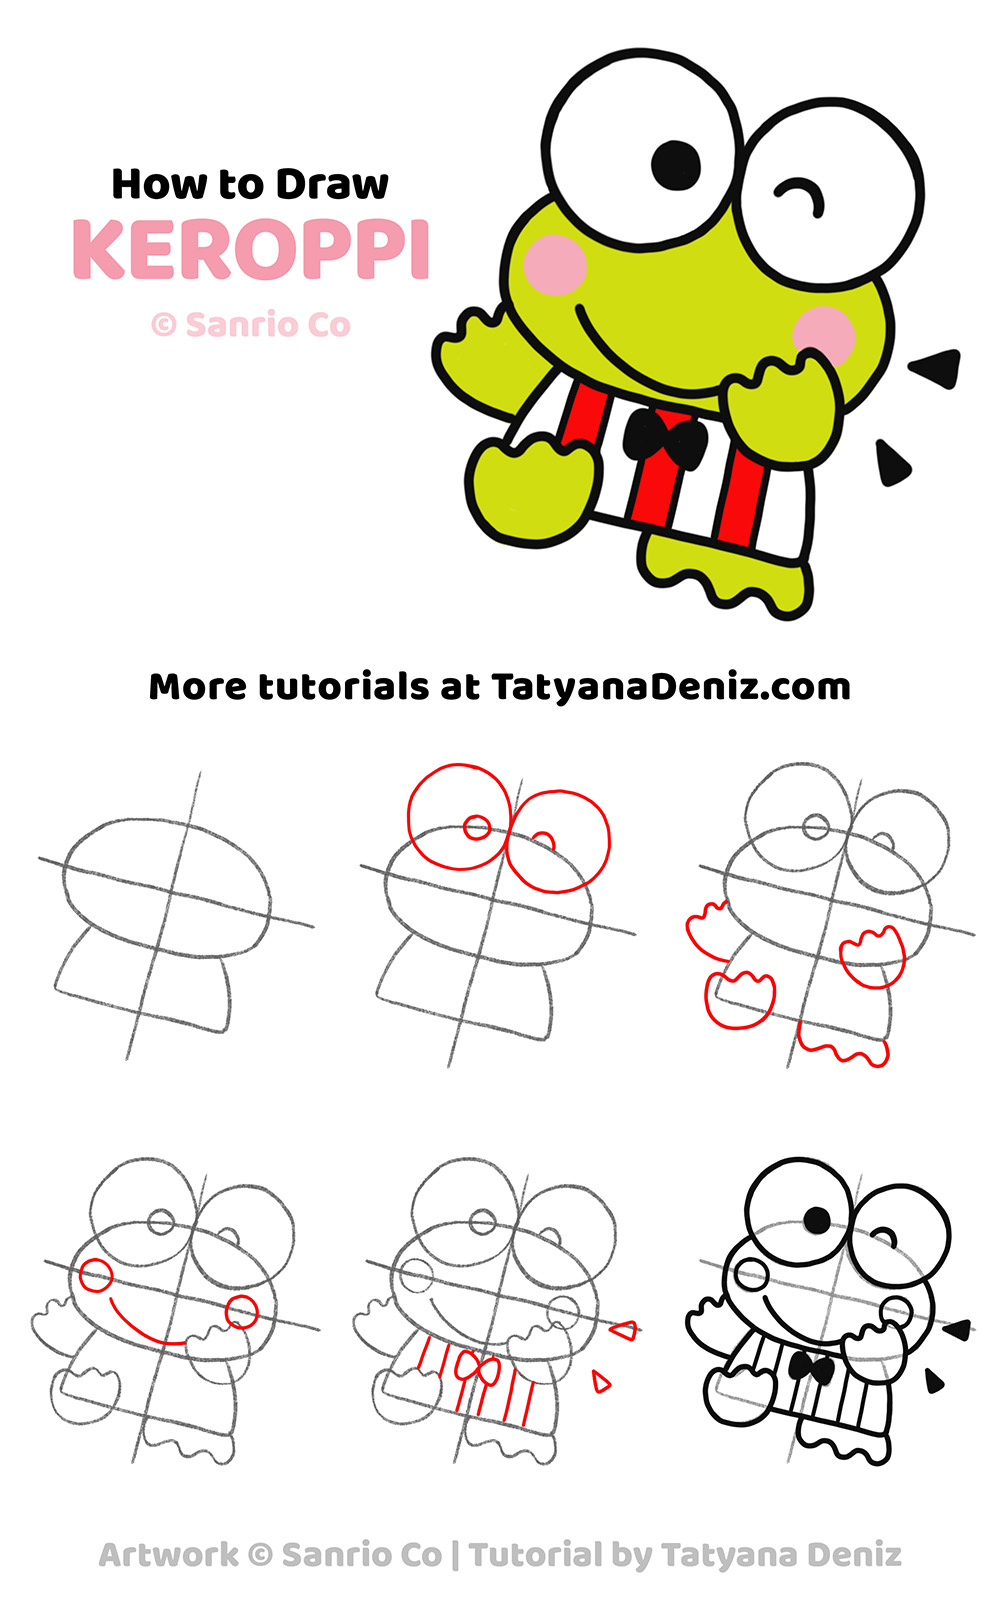
Start by sketching a big round head and a smaller body, then use light guides to place Keroppi’s signature eyes, cheeks, and smile.
This simple tutorial is great for DIY projects and cozy sketchbook sessions. And for drawing with kids! 🎨
Follow each step and it will come out great. Once you know how to draw Keroppi in this pose, you can experiment and have fun drawing Keroppi in other poses too, or even come up with your own version!
CLICK HERE to Pin This Tutorial
CLICK HERE to Pin This Tutorial
Finish your drawing with bold outlines and add color to bring your Keroppi drawin to life 💚❤️.
How to Draw Kawaii Sanrio Keroppi: Drawing Tips
- Start with a big circle for Keroppi’s head and a smaller oval underneath for the body. Use the guides to keep you maintain the tilt of the character!
- Draw two large circles for the eyes, spaced wide apart, and add small black dots inside for pupils.
- Add chubby kawaii arms and feet using small curved shapes that sit close to the body.
- Sketch a simple smile and two round cheeks just below the eyes.
- Outline everything with smooth lines and color in your Keroppi using green, red, and white for a classic look.
More “How to Draw Kawaii” Tutorials
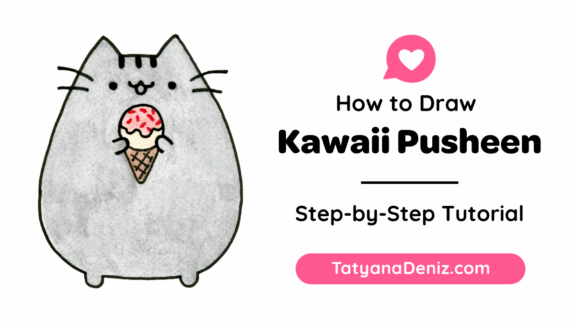
If you enjoyed this tutorial, you will also love:
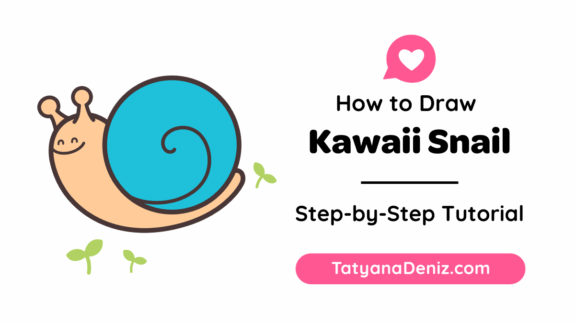
- How to Draw Kawaii Sumikko Gurashi with Easy Step-by-Step Tutorial
- How to Draw Kawaii Pikachu with Easy Step-by-Step Tutorial
- Design a Kawaii Character Inspired by a Squishmallow Plushie
- How to Draw Molang: Step-By-Step Tutorial for Beginners
- How to Draw Hello Kitty Step-by-step with a Simple Tutorial
Join Our Facebook Group
Join our friendly Facebook group where kawaii art fans come together to share ideas, spark creativity, and connect with fellow artists. Let’s create something adorable!
Share the Love
Spread the kawaii vibes by sharing this tutorial with your fellow cute-art fans using the buttons below 👇 Let’s keep the creativity going strong together! ❤️