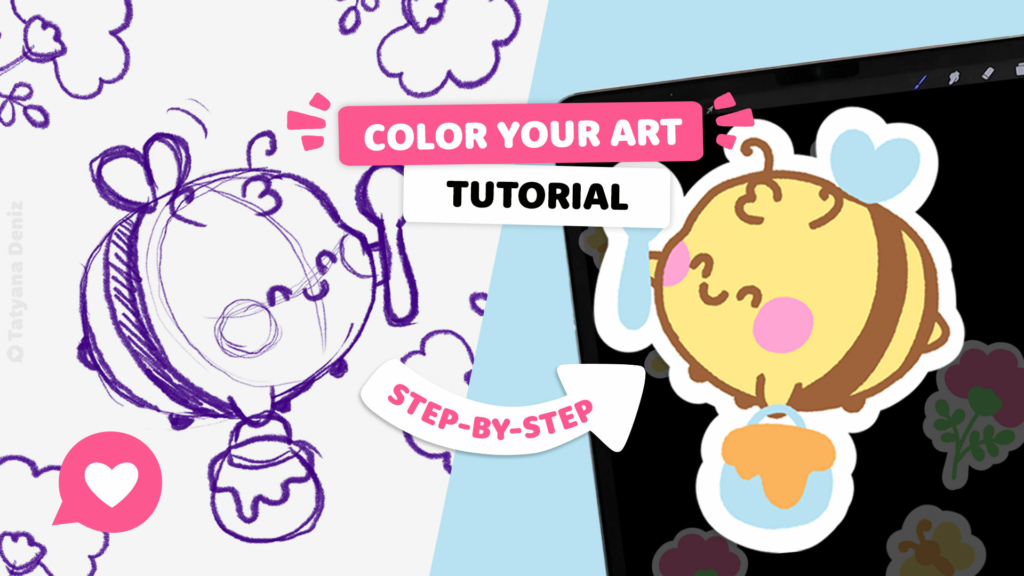
In this step-by-step kawaii drawing tutorial, we’ll take a sketch from our previous tutorial and learn how to color the line art in Procreate step-by-step. BONUS: we’ll also design a CUSTOM PHONE CASE with the art we just colored! We’ll cover principles of composition, layout, and color.
CLICK HERE to Pin This Tutorial

CLICK HERE to Pin This Tutorial
Step 1: Set Up Your File
First thing, we need to set the canvas in Procreate, so that it is optimized for product use once we have finished the drawing. I used Printful to manufacture this phone case, so went to their website that tells me exactly what size of art I need to create.
In this case we will be using the dimensions 7.5 x 15.5 centimeters with a 600 DPI which will be great for printing. With this setting, I have 157 layers available to me, however if you have an older iPad, you may want to reduce the DPI to 300 to get more layers.

Although we set this up for a phone case, when you are creating YOUR design, you can set up your canvas for any size you need (check with your manufacturer). If you use print-on-demand, you can usually find their recommended sizes on their website.
Step 2: Create the Composition
We’ve already talked about composition in our first video, however an important thing to remember is that you want your create to tell a story. For example, with my creation I have our little honey bee holding a flower, then he’s have a drink of honey, then she’s flying away with a big pot of honey with his spoon ready.

You want to think of the flow of your creation and where it leads you eye. Where are you looking when you look at your creation? You’ll note my bees face left then right then left again. It keeps the eye following along with the images. Even the positioning of your smaller items are important. If you find yourself following them off the main image you may need to move them. All of the elements should work together to flow into one another and keep your eye on the art.
Step 3: Color Palette
For your color palette you can look at different references including your original bees. Pull colors and shades you like. If you want black and yellow bees you can, for my bees I wanted a more pastel palette. Instead of black I used brown to make my bees cute and pastel.

Test the colors out, try them together until you get that perfect combination!
Step 4: How to Color Line Art in Procreate
Now, the fun part – coloring. You have the color palette you want, so now it is just about coloring in your art.
PRO TIP: Place each color on a different layer. This way, if needed, you can easily find that layer and change all the appearances of that color at once. This is especially helpful if you need to do some last minute tweaks.

Remember the feel you’re trying to go for with your art, the line art, composition and color all help to bring that feeling into your art.
Sept 5: Export Your File
After all that hard work it’s finally time to export your file, so you can put it on your product. Make sure the background layer is hidden so that your image will have a transparent background.

Go to your Setting > then click “export as a PNG”. This will give us the correct image for our product.
Now you can airdrop it from your device to anything you like!
Kawaii Bees Phone Case

If you like this custom phone case I designed, check it out in my shop! You can get your very own “kawaii bees” custom phone case. 😊[su_button url=”/kawaii-bees-iphone” target=”blank” style=”flat” background=”#ff5792″ size=”7″ center=”yes” radius=”round”]Go to Shop![/su_button]
Watch Next
If you enjoyed this tutorial, you will also love:
- Create YOUR OWN kawaii art with this ULTIMATE character design tutorial
- How to Sell Art Online: 3 Ways to Start Making Money with Art Online
- How To Draw Kawaii Pun in Graffiti Style in Procreate
- How to Use Drawing References Without Copying
Share the Love
If you enjoyed this tutorial, share it with your friends using the buttons below. 👇 Let’s create awesome kawaii art together! ❤️


